How To Build and Hide A Survival Cache Part II
As I mentioned in the first article in this series, not all survival caches are equal. As you build your caches, you must keep in mind what each cache’s purpose is and make sure it has the necessary supplies to meet that need. That’s not to say that there won’t be a lot of overlap, because there will. But there will also be some items left out of some types of caches.
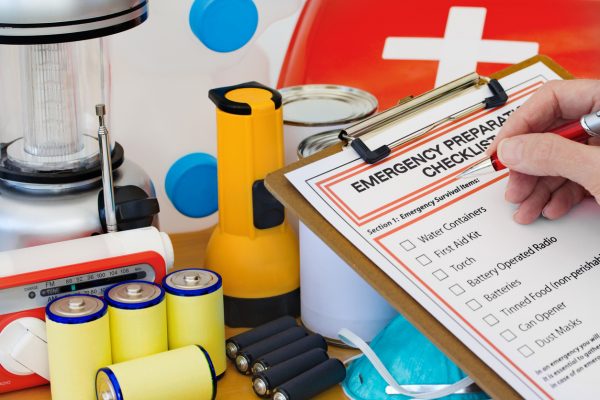
The main purpose of any of these caches is to provide you with food. But, and this is an important but, you’re probably going to need to add some additional items to each of them, in order to replace other needed supplies that might run out. You should also consider basic survival gear, to replace anything that has gotten lost or broken along the way.

So, based on that, any cache should contain the following:
• Food – How much food will depend on the type of cache. If we’re talking about a travel cache, it only needs to have enough food to get you through to the next cache. That includes your home cache or your cache at your survival retreat. Obviously, those two caches will need to include a lot more supplies, as they are intended to last you for months.
• Water Purifier – If your water purifier uses any sort of filter, you’ll want to be sure to have spare filters included with your supply caches.
• Water Purification Tablets – Even if you are using a water filter, put some water purification tablets in your supply caches, just in case. They make an excellent emergency purifier, for those times when you don’t have time to purify it by other means.
• Toilet Paper – This is one of those things that just keeps running out. So you may as well make sure that each and every one of your smaller caches contain at least a roll or two. Your larger caches will need much more than that.
• Hand Cleaner – The most basic personal hygiene supply. Keeping your hands clean is going to be important for your health, helping to prevent the spread of disease.
• First-Aid Supplies – There’s no way of knowing how much trouble you’re going to have with first-aid or whether you will have any problem at all. So it’s a good idea to have some basic first-aid supplies and antibiotics included in your survival caches. For supplies, concentrate on the treatment of larger wounds or injuries, as those are the ones which will be harder to care for.
• Fire Starters – While your bug out bag and EDC bag are bound to have fire starters included, these run out with use. Having a small quantity to make up for anything that you might have used up is a good idea. Be sure to include some sort of accelerant, like WetFire cubes, so that you can be sure of being able to start fires even when it is wet out.
• Emergency Blankets & Paracord – You probably have these in your bug out bag already, but they tend to get used up rather easily. Emergency blankets are not all that strong, so they will most likely end up tearing if you try to reuse them too many times. Having a few replacements will expand what you can do with them.
• Ammunition – Be careful with this one, as ammo is heavy. You really shouldn’t need more than a magazine or two worth of ammo, per caliber you are using, in any of the intermediary travel caches; but you will need a good quantity in both your home cache and your survival retreat.
In addition to these more general items, some of the types of survival caches I’ve mentioned will have specific needs, based upon the use of that particular cache. So, you’ll need to add:
Get Home Cache
Your get home cache has one single purpose, to provide you with whatever you need to have, in order to make it home in the event of a disaster striking while you are away. In most cases, the easiest way to think about this is what you would need to have to get home, if you are at work. It should be developed from that point of view that you will have nothing else to work with, as you aren’t going to have your bug out bag or other survival gear with you.

• Change of Clothing and Shoes – If the clothes and shoes you wear to work aren’t appropriate for walking all the way home, you might want to have some more appropriate clothing as part of this cache. This is especially important for women who wear high heels to work; but applies to just about anyone who works in an office.
• Pack – This kit needs to be built into some sort of pack, so that you have some way of carrying everything. It doesn’t necessary need to be a backpack; mine is in a cross-body bag. Just make sure it is comfortable to carry, strong, and roomy enough for everything you need to carry.
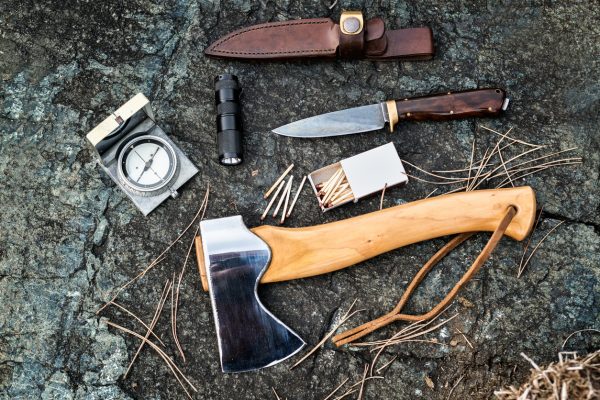
• Basic Survival Kit – This cache has to include a basic survival kit, with fire starters, water purification and the ability to put together a temporary shelter. Be sure to include a good knife and a multi-tool as well.
• Crowbar – You may find yourself needing to break open a door or gate to get where you need to go. In that case, a crowbar will be extremely useful.
• Inflatable Raft – If you work on the other side of the river from where you live and there is a chance of earthquakes, you have to assume that the bridges may be down or seriously damaged. In that case, you may need a small inflatable raft to get you across the river.
• Water Key – Water shouldn’t be much of a problem in the city, unless the power goes out or the municipal water goes out. But to access that water, especially from public buildings, you will need a water key to open the outside faucets.
Emergency Survival Cache
Since the emergency survival cache assumes that you don’t have any sort of survival gear with you, it has to include a complete survival kit, as well as some rugged clothing to wear. In a way, it’s much like the Get Home Cache, as that’s probably how you are going to use it; to get home. However, if your home is destroyed, you may end up using this as the start of your bug out, trying to make it to your survival shelter. Therefore, make sure the survival kit is robust.

• Weapons – This one is tricky, as you don’t really want to leave firearms where others can find them. But you should have some sort of weapon included in this cache, which you can use to defend yourself, if necessary. I’d recommend something other than a firearm, like some sort of melee weapon. Make sure it is something you are comfortable using.
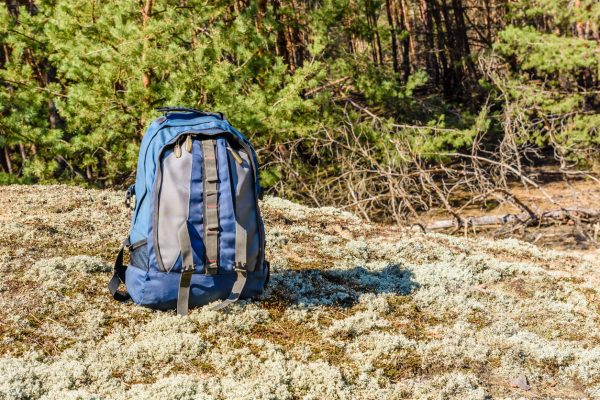
• Pack – This cache must be built into some sort of pack, as you probably won’t have one with you. A small backpack is ideal, such as one you would use for a day hike. But it doesn’t have to be a backpack, if you have something else that will work.
Travel Caches
These are actually the simplest form of cache, as they are intended to do nothing more than resupply your bug out bag. As such, they usually consist of nothing more than what is included in the basic list above.
Before just giving these caches a rubber stamp of approval, stocking only the basic items, take the time to review the trail you’ll be traveling along. You may find that you are going to be crossing some obstacles which would require special equipment or supplies. Are you going to cross any rivers? How about canyons? Will you already have everything you’ll need or will it be readily available? If not, can you add those things to your cache?
Packing Your Caches
Since your caches will be left unattended, you will need to ensure that they will be safe. Obviously, this means storing it well, where it can’t be found. But it also means that everything needs to be packed in watertight, moisture-proof containers. I’d recommend using five-gallon plastic buckets, which will keep out moisture, as well as insects and rodents. Adding some silica gel inside the bucket will help absorb any moisture that is already in the bucket.
In the next installment, we’ll talk about how to hide your caches, so that they’ll still be there when you go looking for them.


