How to Treat Broken Bones in a Survival Situation
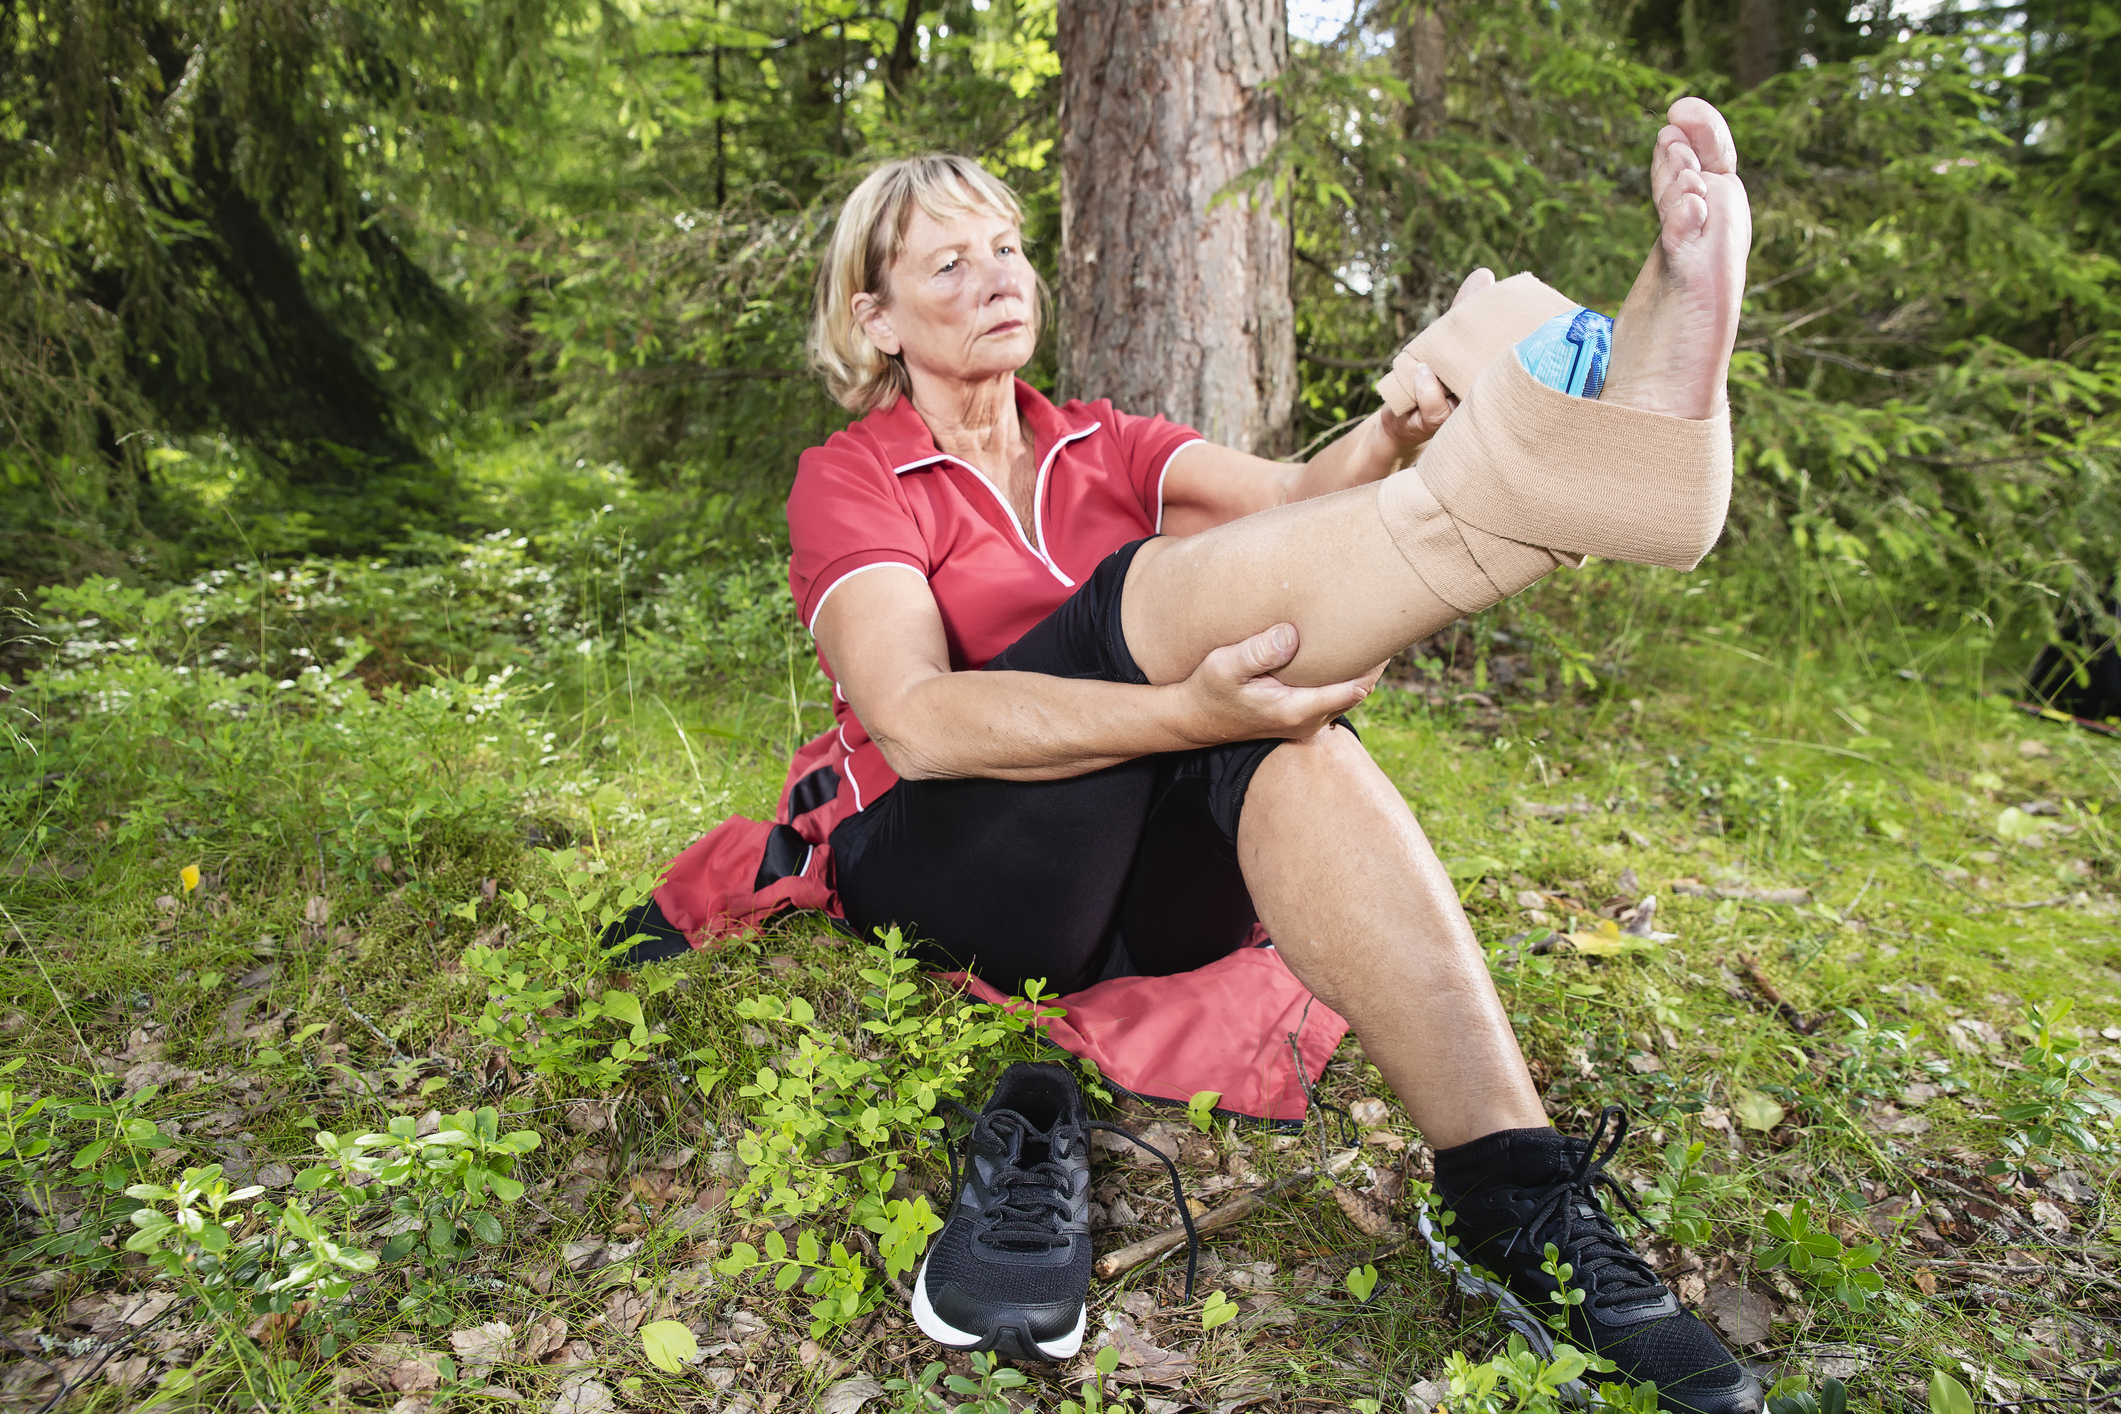
A broken bone, also known as a fracture, is certainly not going to be fun in a survival situation (or ever). It is a very serious injury that needs to be treated as soon as possible. Believe it or not, you will still be perfectly able to treat a broken bone even without the aid of medical equipment.
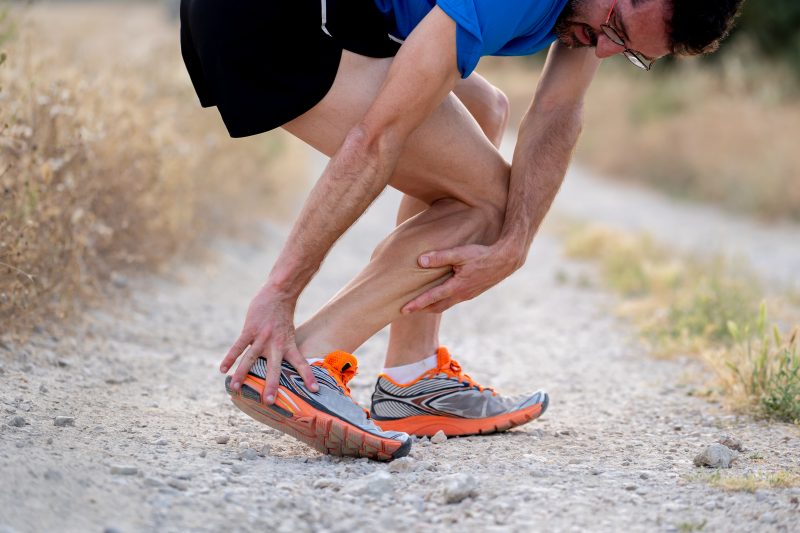
There are two basic kinds of fracturing that can occur: an open fracture and a closed fracture. An open fracture means that the skin has been broken and part of the broken bone is now sticking out of your flesh (this means you don’t only have to deal with a broken bone but an open wound as well).
In contrast to this, a closed fracture means that no open wound has been created as a result of the broken bone. Nevertheless, this doesn’t mean that a closed fracture needs to be treated with any less attention than an open one.
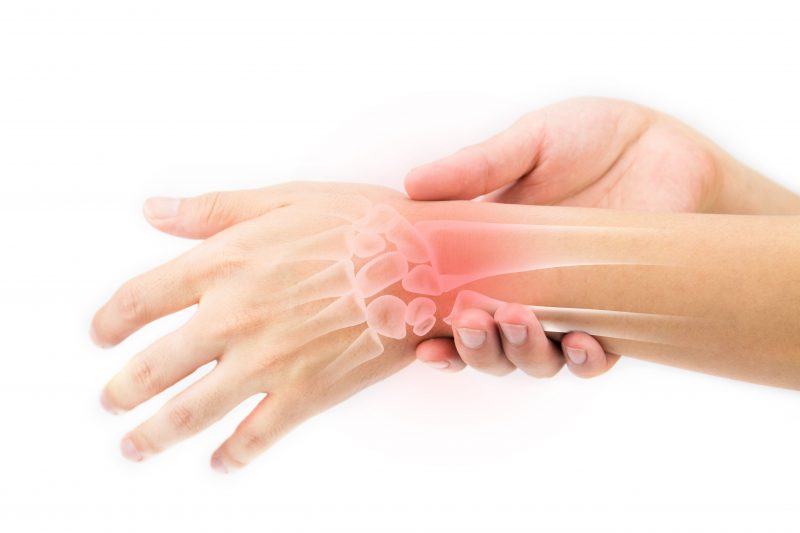
Symptoms of either a closed fracture or an open fracture include the actual sound of the bone breaking, massive amounts of pain in and around the affected area, discoloration and swelling of the skin, and a significant loss of mobility in the affected area as well.
Additional complications of a broken bone include numbness, bleeding (either internal or external), and shock. In case you haven’t gotten the point by now, a broken bone needs to be treated very quickly.
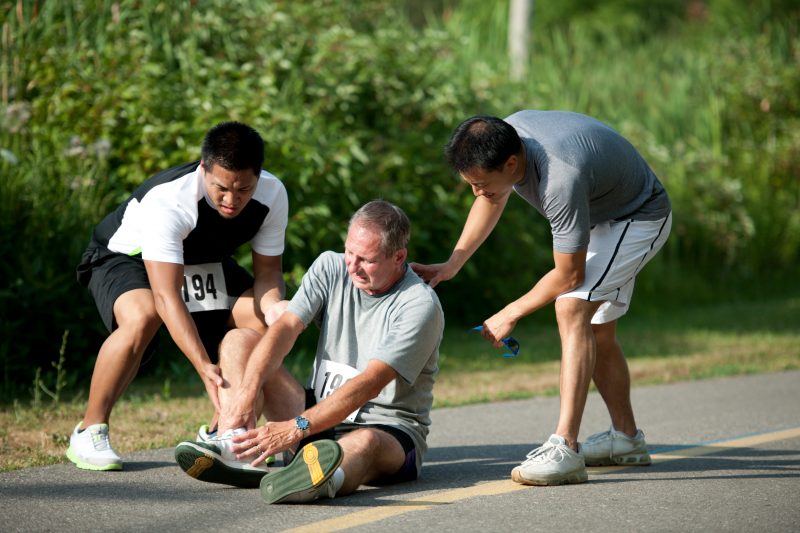
The first thing to do is to calm the victim down and get them resting as comfortably as they can. Limit their movement, have them drink plenty of water, and ensure that they limit their mobility. If the fracture is an open fracture, cover up the wound with a bandage or a clean piece of clothing.
Next, find two branches that are around the same length as the broken limb. The purpose of these two branches is to make a splint.
Then, find rope, cordage, vine, shoelaces, or clothing to tie the splints to either side of the affected limb.
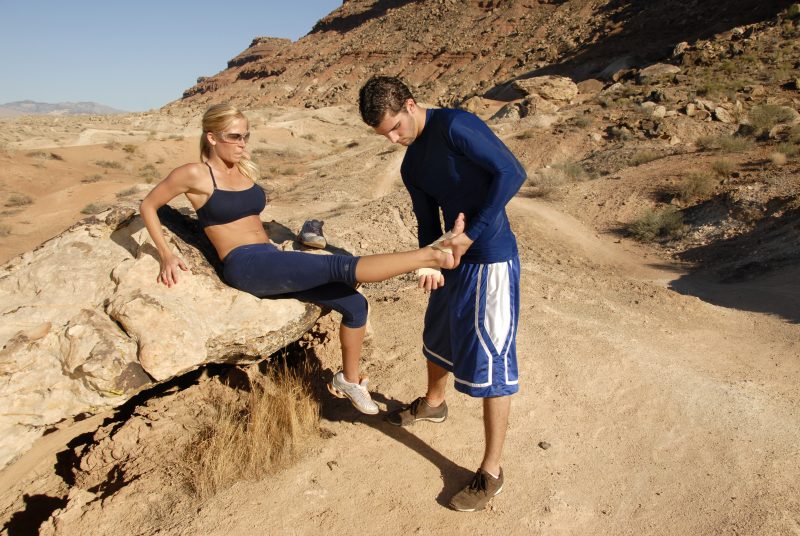
There are three specific points where it needs to be tied: around the wrist/ankle, the elbow/knee, and the shoulder/hip.
While it’s imperative that your splint is fastened securely so that it stays in place, you also don’t want to make it too tight or else the blood will not be able to circulate properly (and this only leads to more complications).
After you have tied the splint to the affected limb, elevate the limb to allow the blood to circulate better. Continue having the victim drink plenty of water and also place a cool compress (such as damp bandana) over their head.
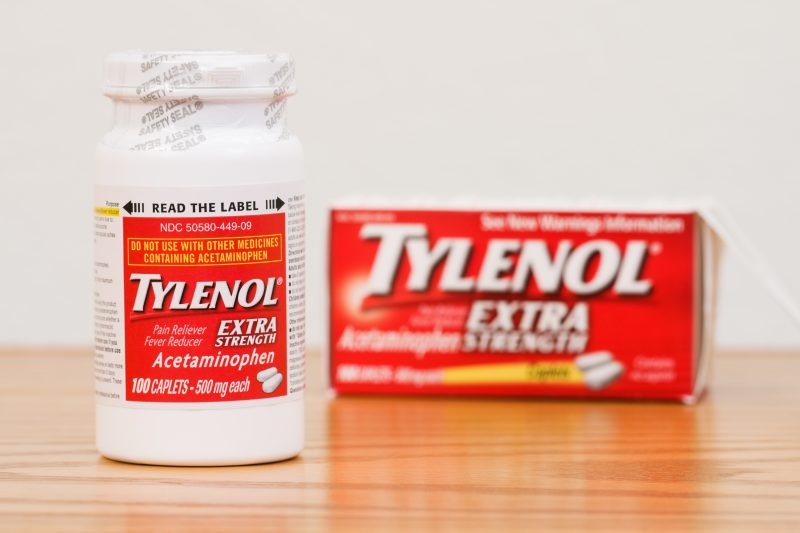
Keep the victim lying down in a comfortable position and give them any medication you may have that can help to reduce the pain, such as Tylenol or ibuprofen. You’ll also want to make sure the victim eats plenty of food so they can keep their energy levels up.
If the fracture is an open fracture, stopping the bleeding is also of paramount importance. Tie something right above the site of the wound and keep the actual wound covered with bandages to ensure that debris, dirt, and pests are kept out. Always clean the wound with water before applying bandages.
