Inspired to get to work on restoring an axe of my own. Unfortunately, my axe was in nowhere near as good shape as his; all I really had was a rusty, banged-up head. It needed a lot of work. After a quick trip to my local hardware store I set out to breathe new life into an old, rusty tool. I would like to point out that I am a complete novice at restoring old tools; in fact, this was my first attempt. I would like to apologize for any mistakes I may have made throughout this project. That being said, I’m quite happy with how the axe turned out.
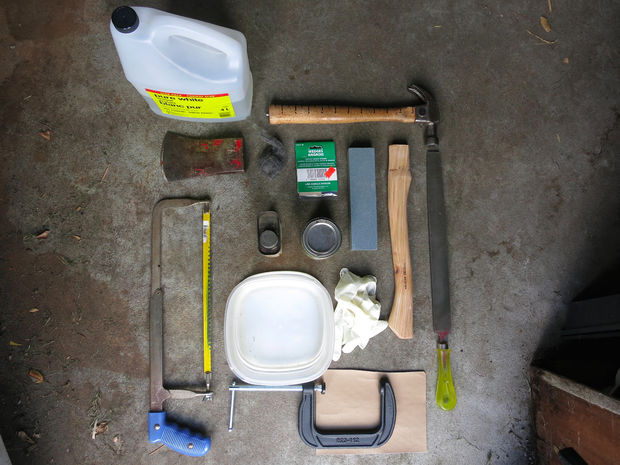
– White vinegar
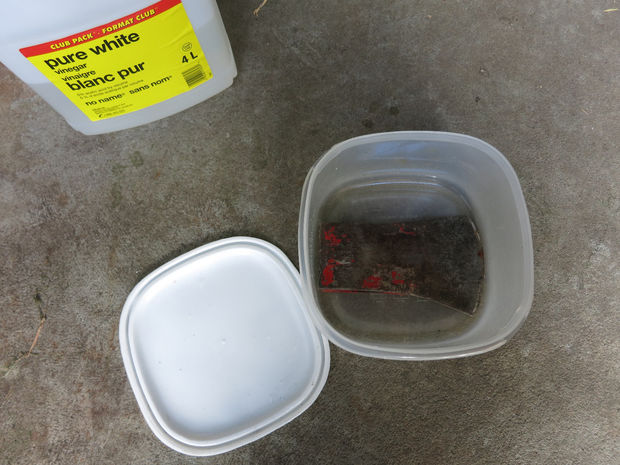
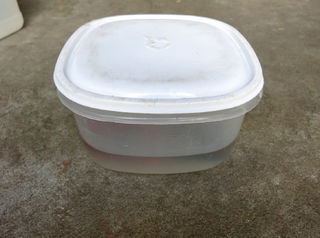
– Plastic container (with a lid) that is big enough to hold your axe head
– Disposable gloves
– Axe head
– Hickory axe handle
– Wedge kit such as this
– File
– Sharpening stone
– Medium grade steel wool
– Sandpaper in various grits; I used 120, 220 and 400
– Wood stain
– Something that will protect the axe head from rust
– Saw
– Hammer
– Large C-clamp
– Bench vise
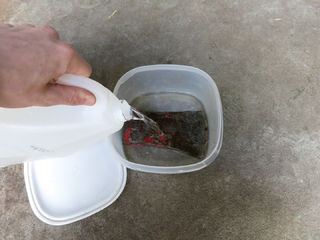
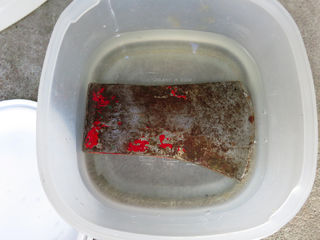
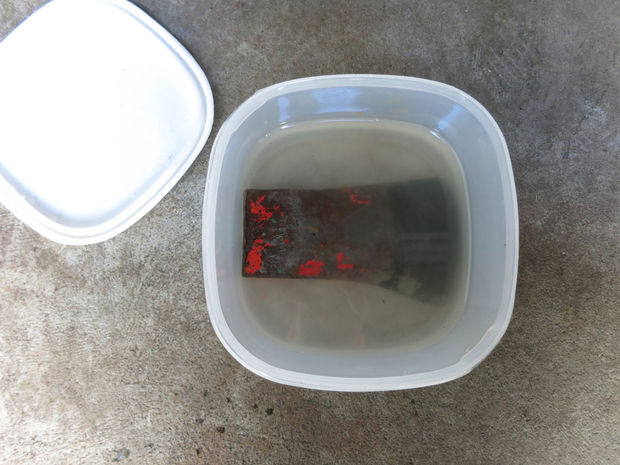
– Put the axe head in the plastic container and pour white vinegar over it until the axe head is completely submerged.
– Put the lid on the container. Leave the axe head to soak for about 6-8 hours.
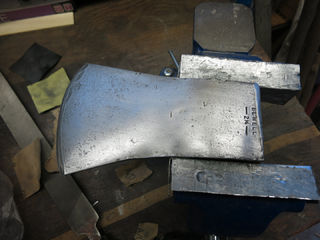
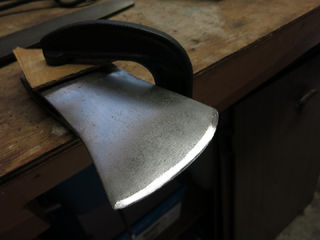
– While you’re waiting take a look at this image to familiarize yourself with the parts of an axe. It’ll come in handy.
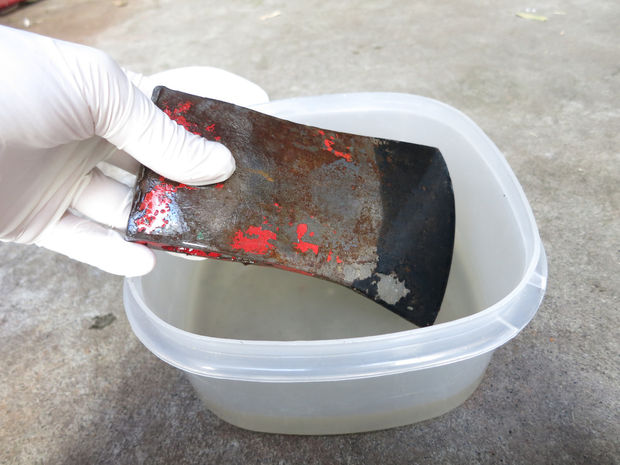
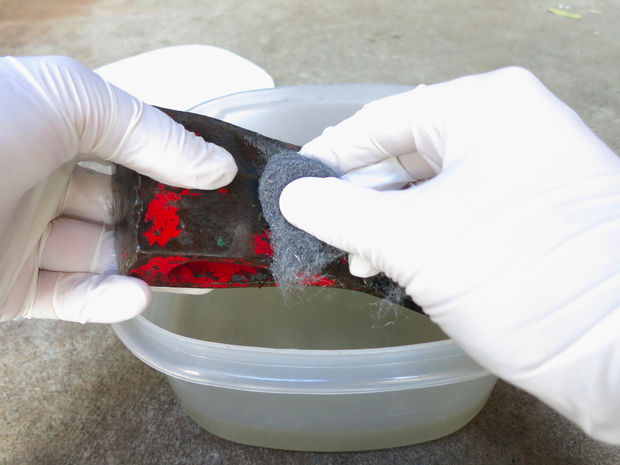
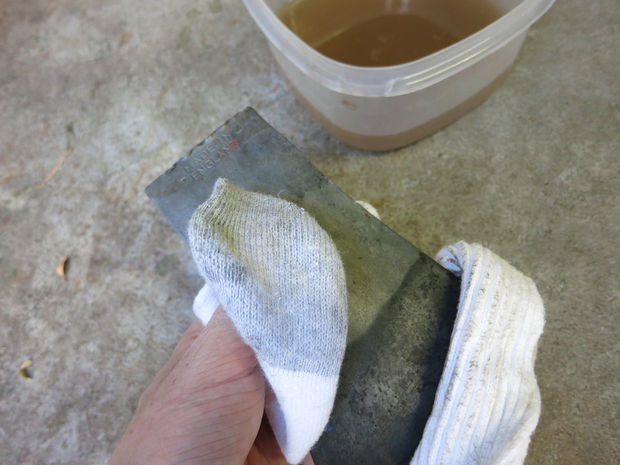
– After 6-8 hours the vinegar should appear slightly brown and cloudy, and you should be able to see rust flakes in the container. Put on your disposable gloves and remove the axe head from the container.
– Scrub at the axe head with the steel wool. The rust, paint and whatever else happened to be on the axe head will start to come off. You may need to use some elbow grease to remove the rust.
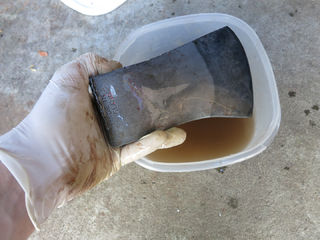
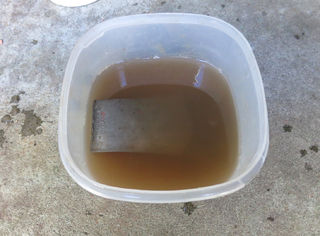
– Once you’ve removed as much rust as you can put the axe head back in the vinegar for 1-2 more hours.
– While scrubbing away I discovered that my axe head was made by the English company Elwell. I looked around online and found that the company stopped making axes sometime between 1930 and the 1950’s. If that’s true this axe could be pretty old! Awesome!
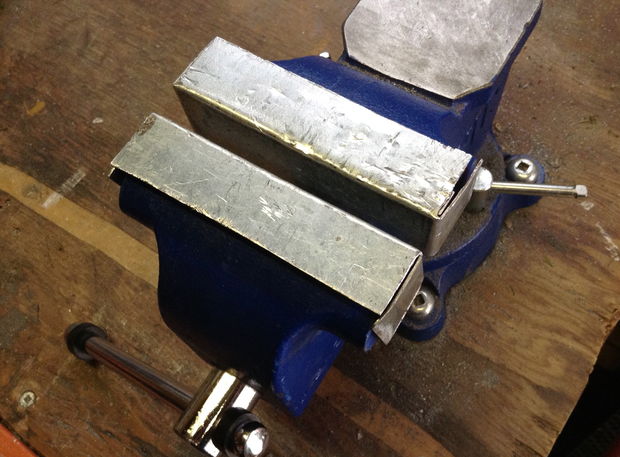
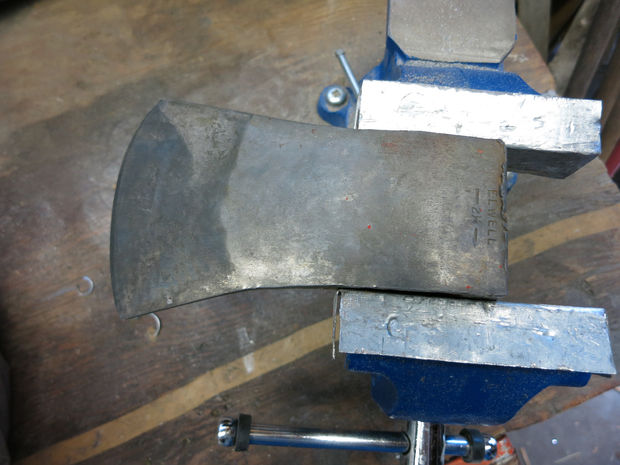
– Remove the axe head from the vinegar and dry it off. Once it is dry clamp it in the vise. Use soft jaws or pieces of scrap wood to prevent the vise from marking up the axe head.
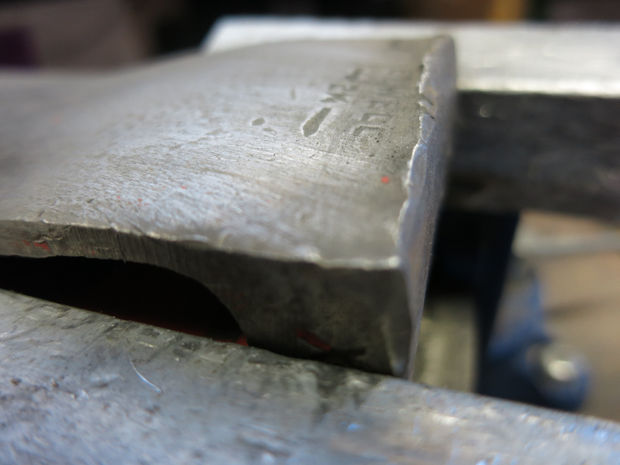
– The edges of the poll (the “back” of the axe head, see image 3) were pretty dinged up so I filed them down until they were smooth and flush with the sides of the axe head.
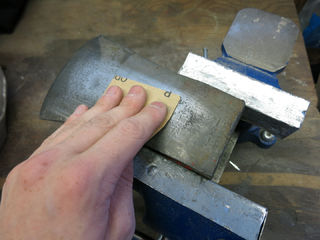
– I then began sanding each face of the axe head. I started out with 120 grit sandpaper to remove anything left over from the vinegar bath and remove some scratches and dings. Next I used 220 grit to clean up the surface and even everything out. Finally, I used 400 grit to give the axe head a nice smooth finish.
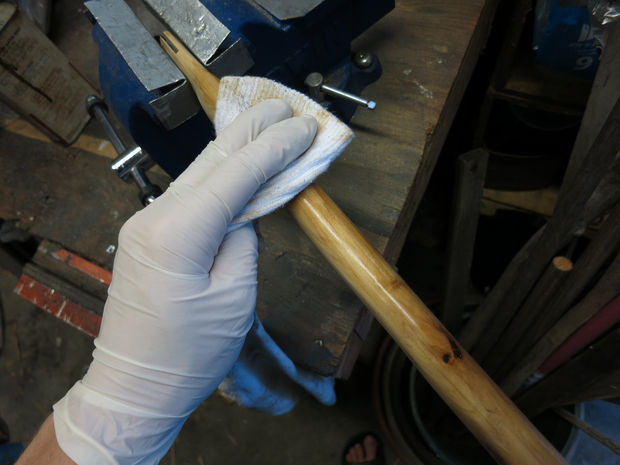
– After wiping down and drying the axe head I applied a protective coating.
– I opted not to remove the pitting on the axe head because I felt that it gave the axe character. However, if you wanted to remove any pits or deep scratches you could use an angle grinder to do so.
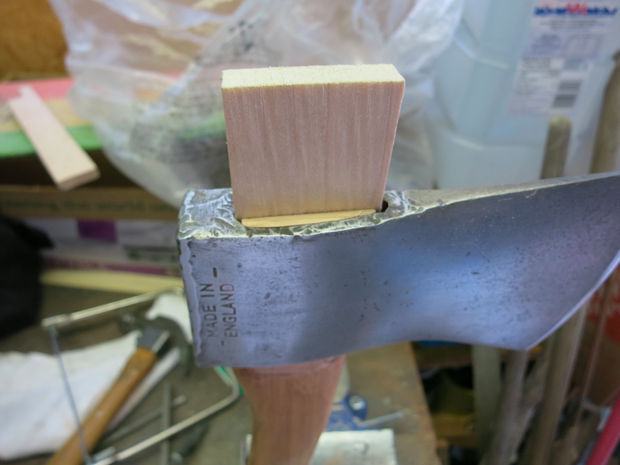
– If the handle is too large to fit in the eye of the axe head carefully sand it down until it fits. Be sure that you don’t make it too small or the handle may loosen over time. It can take a while to get the fit right, but it’s very important that you do.
– After getting the fit right I applied some wood stain and polyurethane finish. In hindsight I realized that it is probably better to do this after mounting the axe head on the handle.
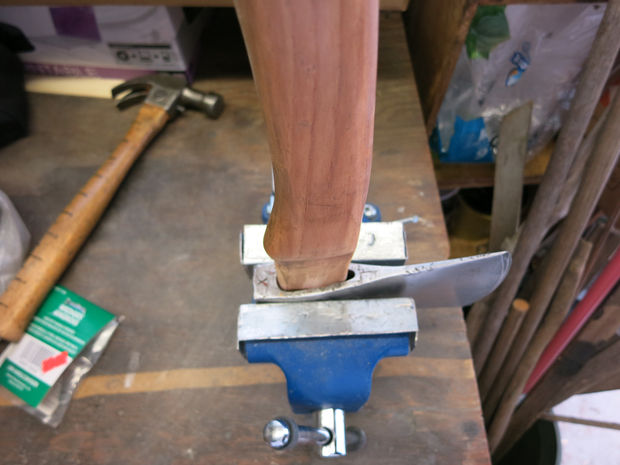
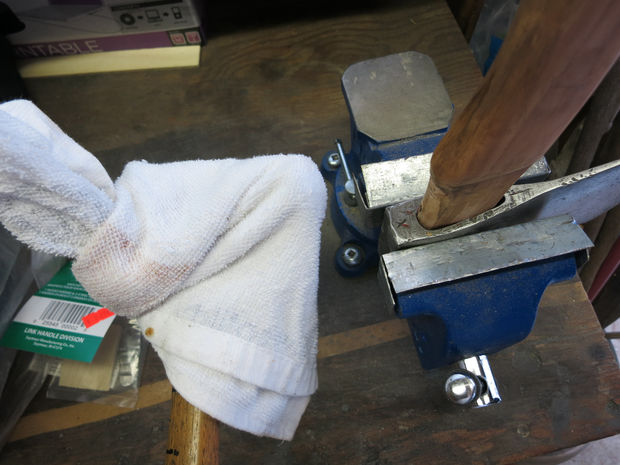
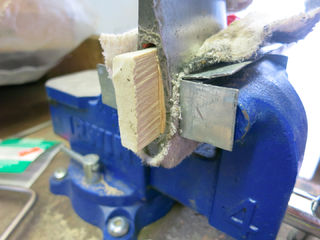
– Start off by clamping the the axe head in the vise, with the top of the axe head resting on the vise’s slide.
– Slide the end of the handle into the eye of the axe head as much as you can. Then use your hammer (or better yet, a wooden or rubber mallet) to pound on the bottom of the grip end of the handle, driving the handle into the axe head until it reaches your desired depth. I wrapped my hammer in a rag to help protect the handle from damage.
– Cut off any excess handle wood that is protruding from the eye of the axe head.
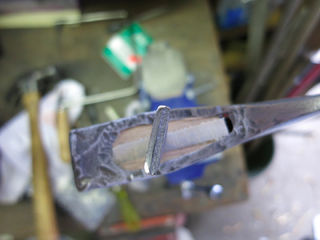
– Now it’s time to install the wooden wedge. Place the wedge in the wedge slot and hammer it down as much as you can. Cut off any excess.
– After the wooden wedge is installed and cut down hammer in the steel wedge diagonally.
– Sand down the top of the top of the handle to make it smooth and even. After sanding I applied stain and finish to the top.
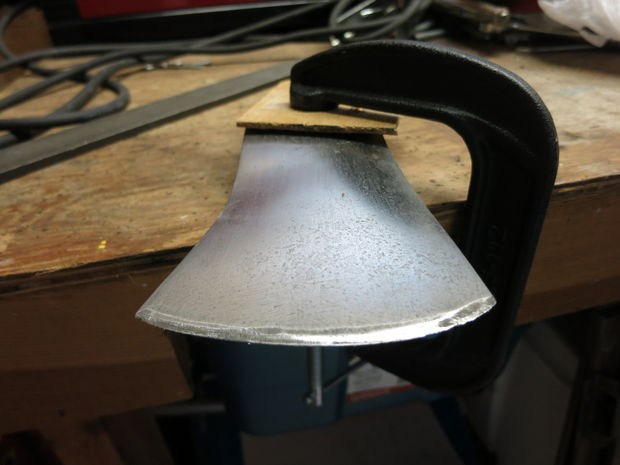
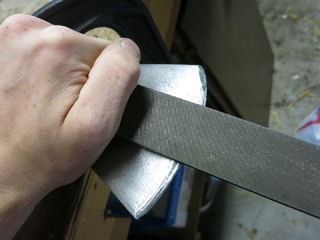
-I sharpened my axe by draw filing. To sharpen by draw filing first clamp the axe head tightly to your workbench. I used a piece of wood to protect the axe head from my clamp.
– Stand so that the heel of the blade is facing you and hold the file at both ends. Place the file on the far end of the blade at around a 30-degree angle.
– Apply pressure to the file and draw it smoothly towards you, following the curve of the blade.
– Once you reach the heel release the pressure on the file and push it back to the start WITHOUT lifting it, keeping the angle constant.
– Repeat these steps until the blade has a nice smooth edge. Then flip it over and start again on the other side.
*For some reason I decided it was a good idea to sharpen the axe head beforeattaching it to the handle. Don’t do that.
Overtourism is defined by Solimar International as "the increase in tourist numbers at such high…
North Americans who look at the night sky are familiar with the constellations that dot…
Humans are pretty unique. We communicate almost exclusively by talking, while other creatures use things…
Given how big the world is, it would be naïve to believe we've discovered all…
The original London Bridge was built between 1176-1209 and represented an architectural marvel. While bridges…
There are a staggering amount of animals who live on the world's surface. But the…