How to treat the three most common hiking injuries
If you’re an avid hiker, you need to know how to treat these 3 common hiking injuries on your own with minimal supplies. Why? Because when you’re hiking miles into beautiful untouched wilderness, you’ll also be miles from help, and maybe even out of cell phone range. It’s imperative that you’re prepared to treat common injuries like blisters, rolled or sprained ankles, and cuts and scrapes, or a relatively minor injury could turn into a tragedy.
Blisters
The most annoying, and unfortunately most common hiking injury is the blister. Every hiker will experience blisters at some point, and some people seem to get them almost every time they go hiking.
When it comes to blisters, it’s best to focus first on trying to prevent them. Blisters are the body’s natural defense mechanism against too much friction on the skin, which can occur from improperly fitting shoes or hiking boots, or a bad sock combination. Make sure you buy footwear that’s properly sized for your foot. If you plan on doing a lot of hiking, or you find that you’re prone to blisters, it’s worth the investment to buy a nice pair of trail shoes or hiking boots from an outdoor retailer such as REI, EMS, or LL Bean where you can have them fitted by a professional. After your purchase, don’t forget to put some time into properly breaking them in before testing them out on a big hike.
Sometimes, blisters are just inevitable, but there are some things to help you keep them at bay and stop them from ruining your hike, or worse, getting infected and becoming a serious concern. The key to treating blisters is taking care of them as soon as you feel them begin to form. When you have a budding blister, you’ll feel a concentrated burning sensation somewhere on your foot. That burning spot is commonly referred to as a “hot spot”, and if you can catch and treat a hot spot before it turns into a fully formed blister, you might be able to stop the discomfort in its tracks.
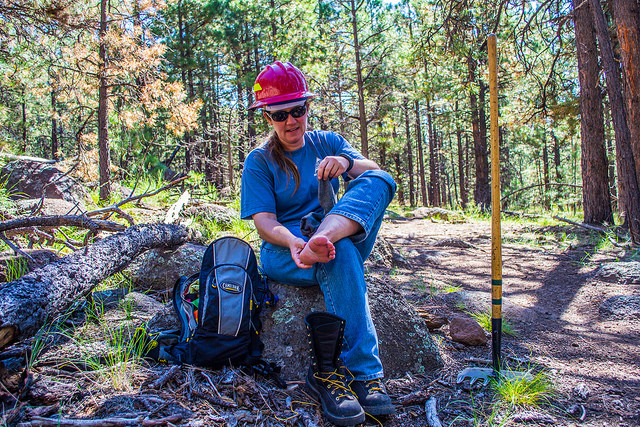
Luckily, the treatment for a hot spot and blister are the same, so whether you managed to catch the blister early, or you didn’t quite give it attention quickly enough, the following treatment methods apply to both scenarios.
All you’ll need to treat a blister is a large piece of moleskin, and a small pair of scissors or a knife. If you’re not familiar with moleskin, it’s an anti-friction adhesive cloth that is used to treat blisters. It’s included in most outdoor oriented first aid kits, and you can purchase it at any outdoor store.
Once you have your moleskin and scissors in hand, cut out an oval large enough to cover the entire area of the hot spot or blister, and leave a decent amount to spare, too. Once you’ve cut the main piece of moleskin, fold it in half, and make a small U shaped cut right in the middle, about the size of your blister or hot spot. When you unfold the moleskin, you should have a donut shape.
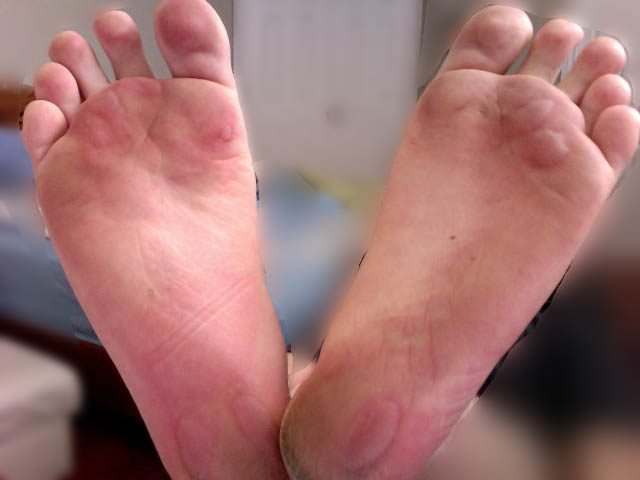
Now, as best you can, clean and dry the area surrounding the hot spot or blister, and place your newly formed moleskin donut over the affected area, making sure the blister sits inside the hole you cut out of the moleskin. The donut shape of the moleskin is the most important part, because the outer ring of the donut now takes the brunt of the rubbing friction from your shoe or boot, and the hot spot or blister stays protected inside of its new protective donut.
Don’t have moleskin? Products like Compeed can work well, and even Duct tape and dollar bills have been known to work as a substitute when absolutely necessary!
Rolled or sprained ankles
At some point in your hiking career you’re likely to trip or take a bad step onto a rock or root, and have your ankle twist and roll under your weight. Rolled and sprained ankles can happen to anyone, and they can be serious and extremely painful, too. Though usually a relatively minor injury, a mistreated rolled or sprained ankle could turn a fun day of hiking into a high stress situation if you’re unable to walk out with nightfall or dangerous weather approaching.
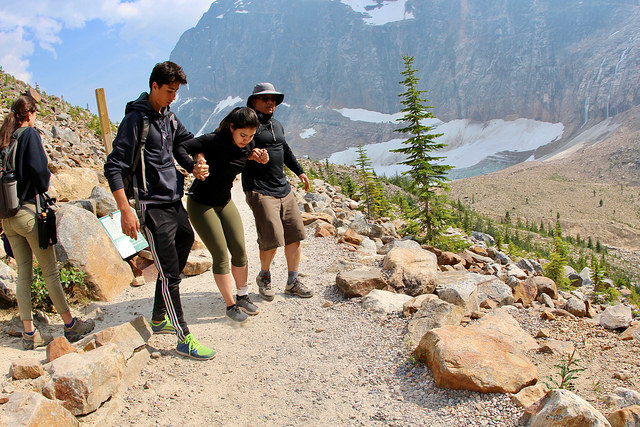
If you do happen to roll or sprain your ankle during a hike, Wilderness First Aid instructors would actually tell you not to treat your ankle right away. It sounds strange, but it makes sense. Anyone who has sprained an ankle before knows how swollen it gets as soon as you take your boot or shoe off. So instead of sitting down on the trail and taking your shoe off, consider doing the opposite.
Lace your boot nice and tight around your ankle, securing it in place to help prevent any further injury as you walk back to the car. If you have some spare cloth, tape, or rope available, you might consider wrapping it around the boot and ankle to create a makeshift brace which holds the ankle in place and prevents too much movement. Once secure, walk out to the car as quickly and as carefully as possible.
Hopefully you’ll have some hiking partners with you to assist you on this certainly painful journey. If you don’t have a hiking partner to lean on, use trekking poles, or a walking stick to help balance and keep your weight off of your bad ankle as much as possible.
Once you’re safely back at the car, now is the time to sit down, take your boot off, and ice your injury as soon as possible to reduce swelling and pain. Serious sprains may warrant medical attention, as your doctor may need to brace your ankle in order to allow it to heal properly.
Minor cuts and scrapes
Whether you trip and fall, or simply brush up against a sharp tree branch, sooner or later you’re going to draw some blood while hiking. Minor cuts and scrapes aren’t a big deal when you’re hanging out around your house, but open wounds can’t be taken lightly in the backcountry as dirt and bacteria can quickly infect a minor cut or scrape and create a nightmare scenario.
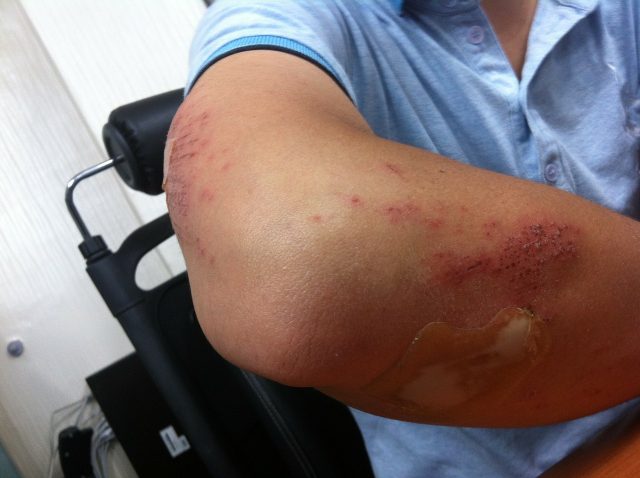
To reduce the risk of infection, the key to treating minor cuts and scrapes while hiking is treating them quickly and keeping them clean. First, sit down and clean off the wound. This may mean painfully pouring clean water on the wound and brushing it off with a clean cloth or a sterile pad from your first aid kit.
Although painful, taking time to properly clean a wound is the most important step in preventing it from getting infected. Once it’s clean, you might consider applying some antibiotic ointment to the wound if you have some in your first aid kit as this will further prevent the wound from getting infected.
Once cleaned and disinfected as best as possible, cover it with sterile gauze and a bandage. If you’re under prepared and don’t have a bandage available, you may have to sacrifice a t-shirt and rip off a strip of cloth to work as a makeshift bandage until you can get to a first aid kit.
Now that you know how to treat the three most common hiking injuries, study the treatment steps and know them by heart! Every hiker is going to experience one or more of these three common hiking injuries sooner or later, and being prepared to handle them when they occur will keep you and your hiking friends happier and healthier on every hiking adventure.
If you have any comments then please drop us a message on our Outdoor Revival Facebook page
If you have a good story to tell or blog let us know about it on our FB page, we’re also happy for article or review submissions, we’d love to hear from you.
We live in a beautiful world, get out there and enjoy it. Outdoor Revival – Reconnecting us all with the Outdoor


