Caltrops Originally Invented For Breaking up Cavalry Charges
The history of weaponry has always consisted of two sides: offensive and defensive weaponry. Most of the time, about the only thing we think of when thinking of defensive weaponry is armor, but it goes far beyond that. Ancient castles had a considerable array of weaponry that they used – especially in the gatehouse, which was the strongest point of defense.
There were many ways that people used to defend themselves, even without a castle. Knights sent on missions had to defend themselves, as did trading caravans. While personal arms and armaments were an essential part of this, so was the use of traps.
Anyone who has ever watched Tomb Raider or Indiana Jones has seen some pretty imaginative traps in use. While those were the invention of Hollywood, they at least had some basis in reality. Ancient tombs often did have traps built into their design, even though those traps were not as elaborate as what we see in the movies.
I’ve never heard of an archeological expedition having to fight off stone figures that came to life in real life; that sort of thing just happens in the movies.
But, traps do exist and have existed for centuries. The simple idea of a pit with stakes in the bottom has existed for centuries. Whether used for trapping animals to eat or to trap enemies, the pit was effective. Adding stakes to the bottom merely increased the effectiveness as the stakes could injure or kill whoever fell into it. Such pits have been used as recently as the Vietnam War.
Introducing the Caltrop
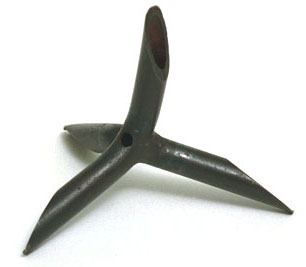
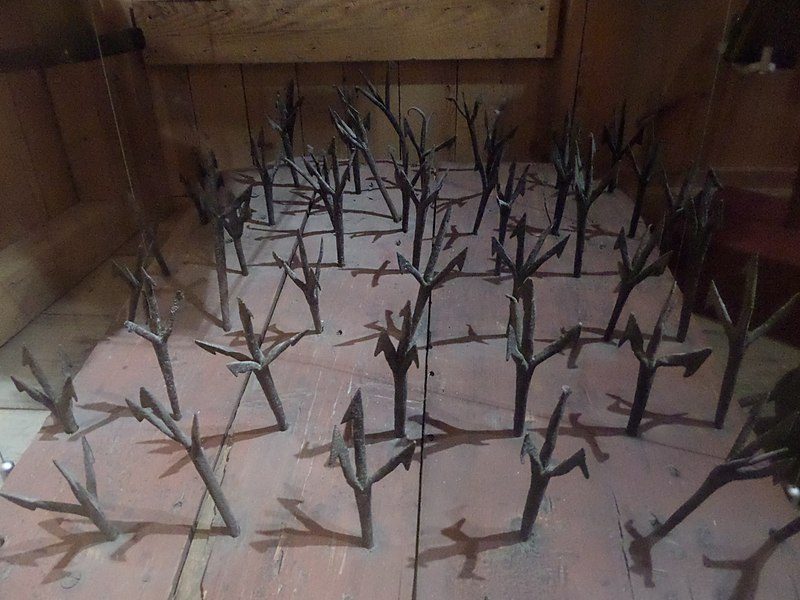
Another effective defensive weapon that hasn’t outlived its usefulness is the caltrop. Originally invented for breaking up cavalry charges, the caltrop consists of four spikes pointed 120 degrees apart. They are sharpened and joined together in such a way that no matter how they fall, there will be a spike pointing straight up. If a horse were to step on the point, it would cripple the horse.
Caltrops were first used as early as 331 BC at the Battle of Gaugamela. This was the decisive battle between Alexander the Great and his Macedonian army, and King Darius III of the Persians. Alexander won this battle, defeating the great Persian Empire and becoming the King of all Asia. The ancient Romans were known to use caltrops as well and even the Japanese, who called theirs makibishi.
Caltrops could be carried into battle with the baggage and deployed simply by throwing them. In a case where a group of merchants needed to create a quick defensive position, the caltrops could be strewn in front of them to provide protection from horsemen. In the case of an army, they could be used to protect the flanks from cavalry charges.

The Romans were able to use caltrops quite effectively against chariots. It is not commonly understood but chariots needed very smooth and level ground to operate. A single stone encountered by the wheel of a fast-moving chariot could spill it and render it useless in a battle. Likewise, all it took was an injury to one hoof of one horse and the chariot was out of the battle. Knowing this, the Romans would scatter caltrops across flat, smooth areas likely to be used as an access route by chariots, defeating them with one of the simplest weapons on the battlefield.
While most caltrops had smooth spikes, both the Romans and the Russians used barbed spikes. This would increase the damage caused by ensuring that the horse which had stepped on it would be unlikely to heal and would need to be killed.

Caltrops were even used in World War II as a special weapon of the Office of Strategic Services. Issued to partisans in Europe, these were made of hollow spikes that would allow the air to escape even self-sealing tires.
Using Caltrops in Survival
Caltrops can be just as useful today as they were in medieval times. While it is illegal to put booby traps around your home, I seriously doubt anyone is going to pay much attention to that law in a post-disaster situation where it is necessary to defend your home.
In such a scenario, caltrops can be scattered under windows, on the inside of fences you don’t want people climbing over, and anywhere else where you would want to keep people from walking without having to pay the price. This would, of course, require a lot of caltrops; but it would be an effective defense hiding in the grass. While it might not cripple a person, it would make them walk with a limp for a week or so.
Another way that caltrops could be useful is to block off your street if your neighborhood is cooperating for self-defense. They would serve as an effective secondary barrier for cars that managed to break through your main barrier and flatten their tires so that you could catch the occupants.
The key here is to have a belt of caltrops that is sufficiently dense and deep enough so that nobody could just step over it. If your yard has hard ground, so much the better; it will help keep the caltrops from sinking into the ground when stepped on.
Making Your Own Caltrops
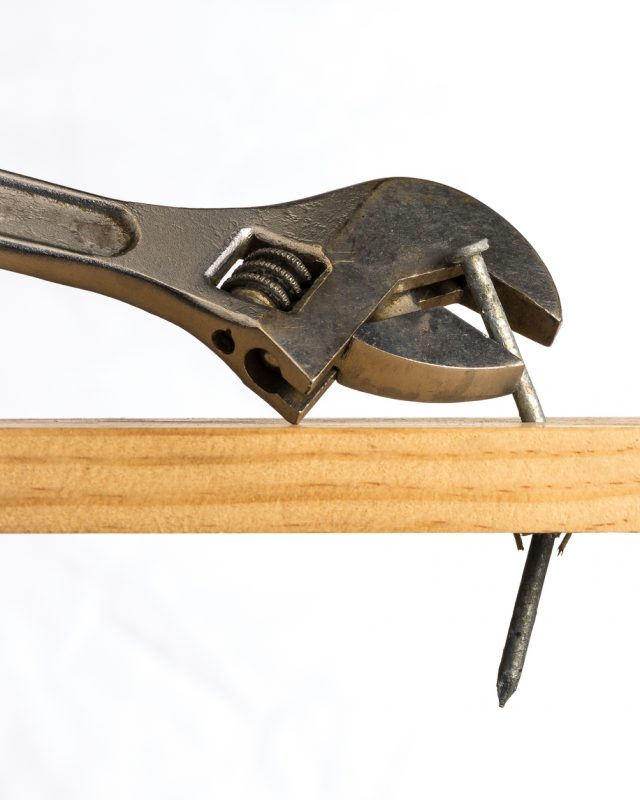
You can make your own caltrops fairly easily if you have a grinder and a welder. I’ve made them before using nothing more than 20 penny nails. I chose that size rather than the more common 16-penny size because they are both longer and thicker.
To start with, cut the heads off the nails with the grinder. Then, sharpen another point on the cut-off end. If you can, make both that point and the original point a bit sharper than the original point was so that it will penetrate through the soles of shoes more easily.

The next step is to bend the nails at 110 degrees. Two nails are then nestled together at the bend so that the concave sides are facing each other and the four points are all going towards the four axes that are common to all caltrops. Once you’ve seen one, you’ll always know what these directions are.
Clamp the two nails together, ensuring that you don’t move the angle in the process. Then, weld the two nails together on at least two sides, ensuring that you have a firm weld. It has to withstand the pressure of someone stepping on it without the weld bending. Finally, check your work, ensuring that no matter how it falls, one point is directly vertical. Adjust if necessary.
As you can readily see, you could easily make a few hundred of these and keep them stored in the garage or basement pending a time when you might need them.


