Survival skill: making a splint
When out in the wilderness, it helps if someone in your group knows more than just how to put on band-aids. It may be you, or it may be your friend, but when traveling some distance away from medical help, some knowledge is a lot better than none at all. When someone in your party has an accident, you need to be able to provide assistance while you wait for professional help to arrive.
A splint is a way of immobilizing an injury to reduce discomfort, as well as the chance of the injury becoming worse. Using your first aid kit and what is available around you in the wilderness, you can make an improvised splint.
What to Do First

You need to look at and assess the injury. The person with the broken limb may also have other injuries, so check them out from head to toe. Any bleeding has to be controlled first, and any cuts and scrapes cleaned up.
A splint needs to span the joints above and below the injury. For example, if you have broken your forearm, the elbow and wrist joints will need to be immobilized. Splint the injury the way you found it. Do not try to straighten the broken bones and awkwardly shaped limbs as you will only end up causing more damage. If bones stick out of the skin, they need to stay sticking out and be kept moist, so around the open wound pack damp sterile pads soaked in as sterile a solution as you have available. That is why there are saline containers in the first aid kits. You can tape down a plastic bag across the splinted area as well.
Materials

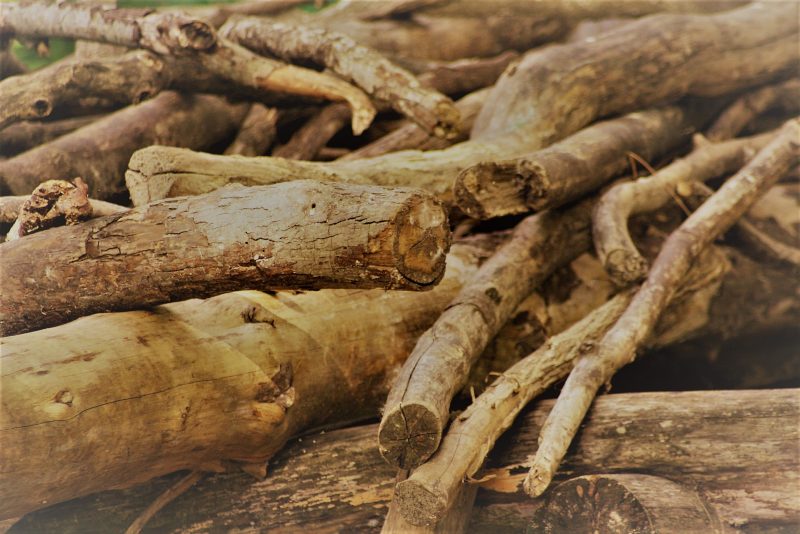
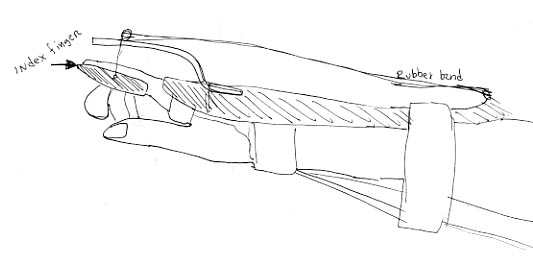
You will need something rigid, like sticks or thick cardboard, to support the break, some padding for putting between the skin and the support material, and something for tying the splint together. In your first aid kit you should have sterile bandages; these are ideal, but you can also use cut-up strips of a shirt, duct tape, webbing, or straps. A towel or a t-shirt will do for padding if you don’t have enough gauze in your kit. Other things that can be used as a splint include tent poles or the tough inner section of your backpack.
Wrap the splint around the damaged limb firmly – it may take a bit of patience to hold it and the padding together while you are tying. It needs to be firm but not tight, as the limb needs circulation. Leave toes and fingers exposed so you can check what color they are. Blue is not a good color to see, as that means circulation is being restricted. If the fingers or toes below a splint change color you will have to stop and check the tightness of the splint in case that is the cause.

If you have to carry out a person with an injured leg, tie both legs together for more stability and less jostling of the break. For arms, do whatever feels more comfortable for the person, but if you are carrying them tie the limb to their body to stop it from being jostled.
When in the wilderness you will need to think creatively when an injury happens. You will be fine if you don’t panic, work calmly, and think the emergency through.
If you have any comments then please drop us a message on our Outdoor Revival Facebook page
If you have a good story to tell or blog let us know about it on our FB page, we’re also happy for article or review submissions, we’d love to hear from you.
We live in a beautiful world, get out there and enjoy it. Outdoor Revival – Reconnecting us all with the Outdoors.


