All-Terrain Bike Trailer and Dolly – Carrying The Bug Out Barrel
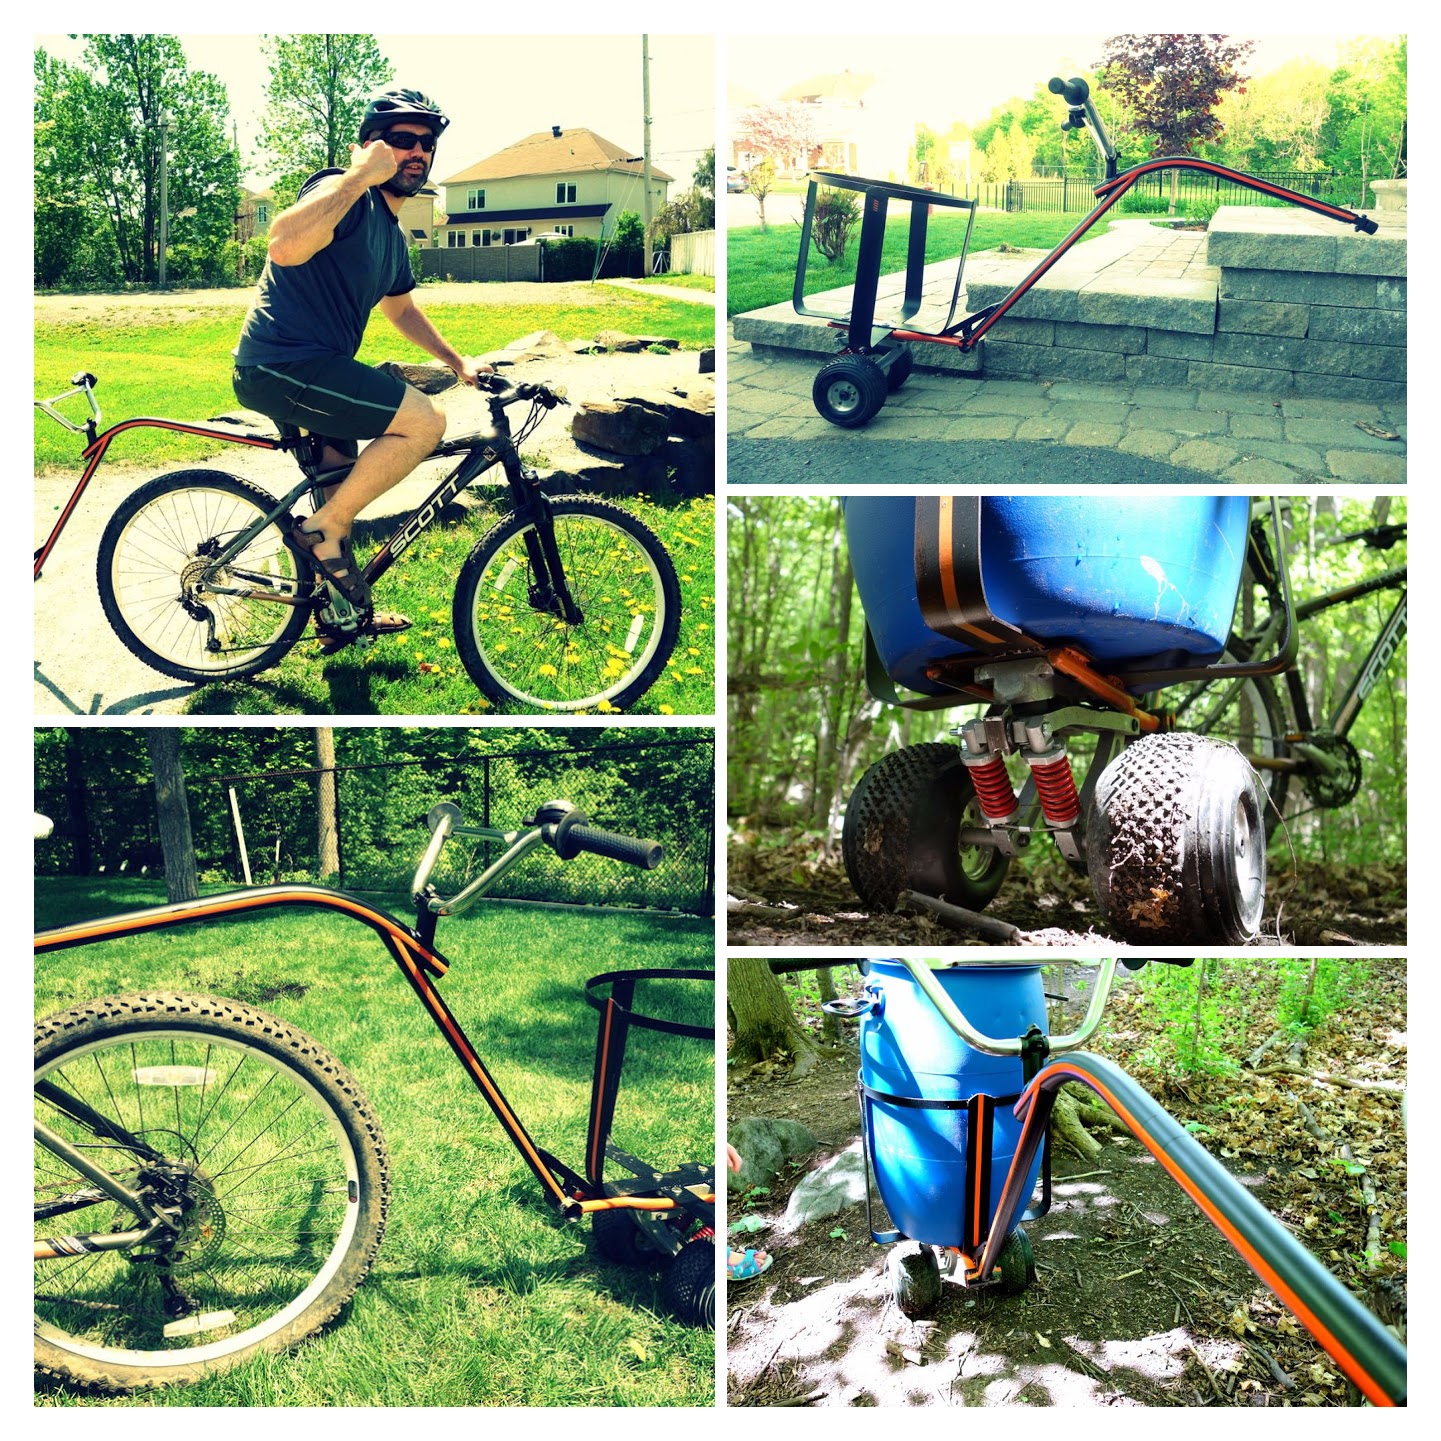
Last week we posted up an article about a Bugout Barrel for 4 and we’ve had a few requests here at Outdoor Revival HQ asking for more info on the bike trailer, so here’s an article from Guy telling you how he made his fantastic trailer.
This article follows on from this previous one: Bug-Out Barrel for a Family of Four
Cargo bikes are gaining popularity as people look to reduce their carbon footprint, AND get their gear from A to B. One shortcoming of the cargo bike is that you are stuck with an over-sized bike for everyday use or you have two bikes. An alternative solution is to use a trailer to do the hauling. Most trailers, however, are designed for use on paved roads and are poorly suited for trail riding. If you are looking for ideas for your own bike trailer build, there are a whole bunch of great instructables on the subject.
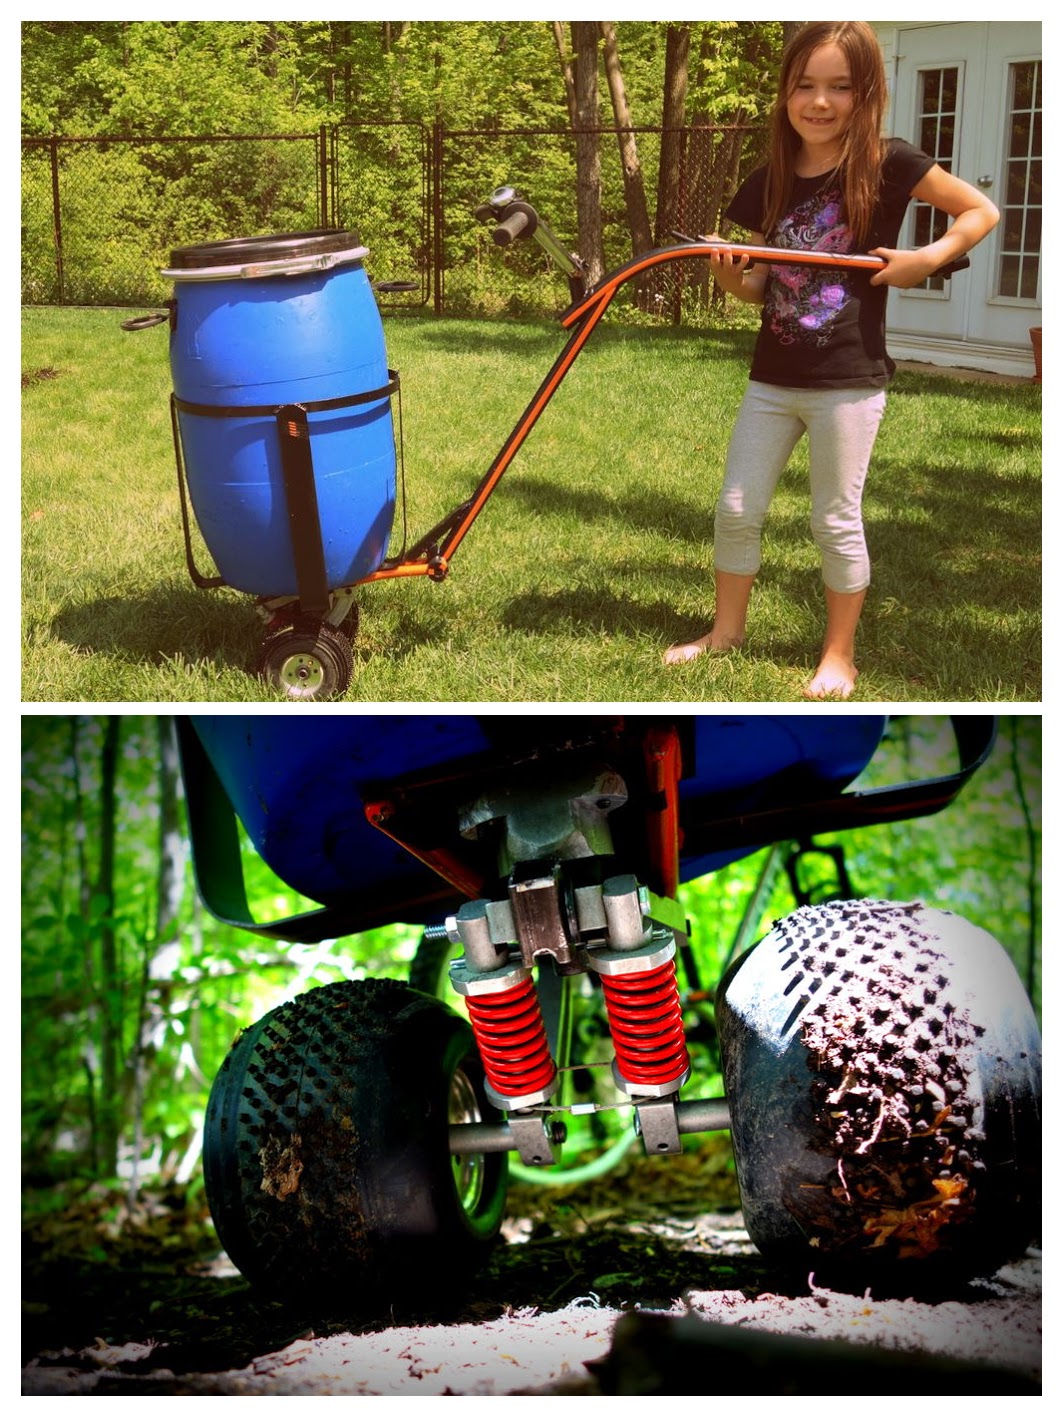
My first motivation for this project was to combine a bike trailer and dolly that could be used in case my family needed to “bug-out” and driving was not an option (look out for a future instructable about our Family Bug Out Barrel). The dolly hybrid is very versatile and may come in handy while running down the aisles of our local pharmacy, arm stuck out, sweeping everything off the shelves into the barrel, while zombies are nipping at our heels.
On a more serious note, the hybrid design would allow resupplying your camp with water, fuel, groceries or any other supply that might otherwise require several smaller loads by foot. Unhooking the trailer transforms it into a dolly that can be hauled over obstacles or very steep sections of the trail. The handlebars were left in place initially to enable a small rider to catch a ride in a pinch, however, I can see them being very useful to haul the cargo up steeper slopes with one person on either side. The use of the 60 liters (15.9 American gallons) canoe barrel provides a modular design for quick transfer; it is also water tight and can float and be dragged over snow in a pinch.
Step 1: ITEMS
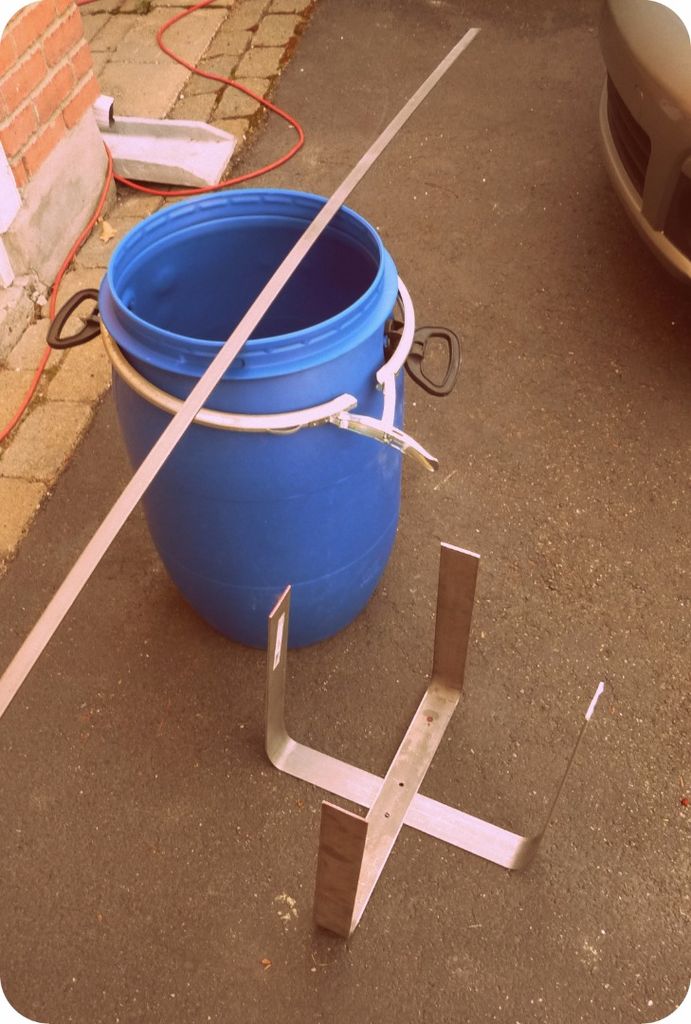
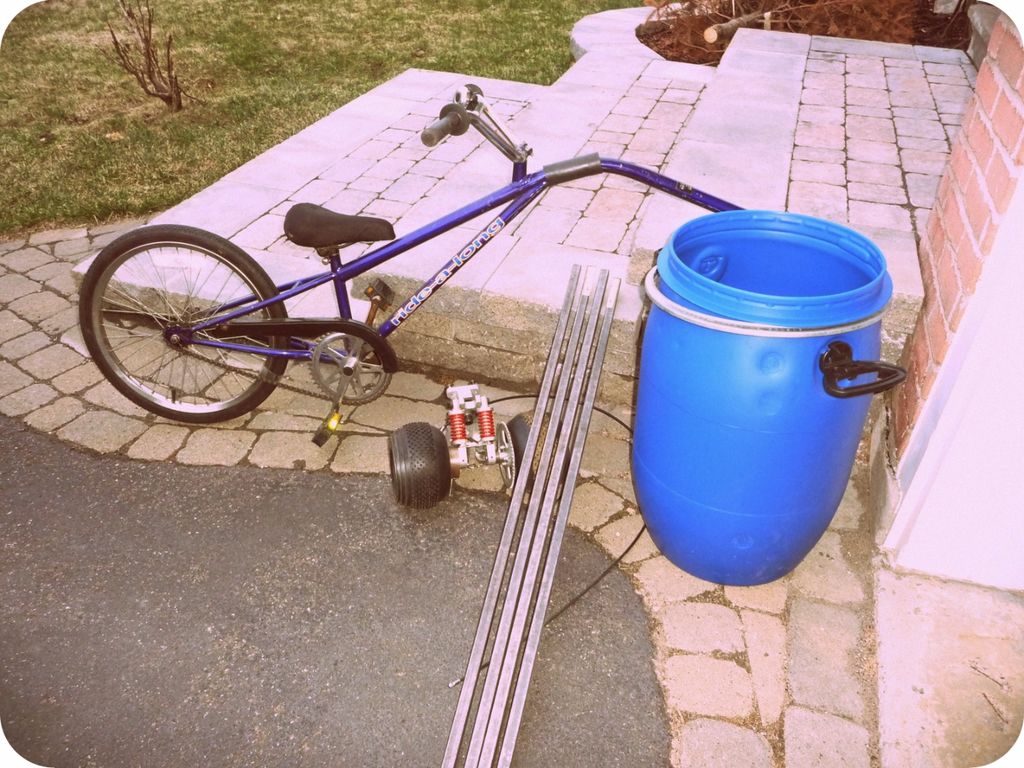
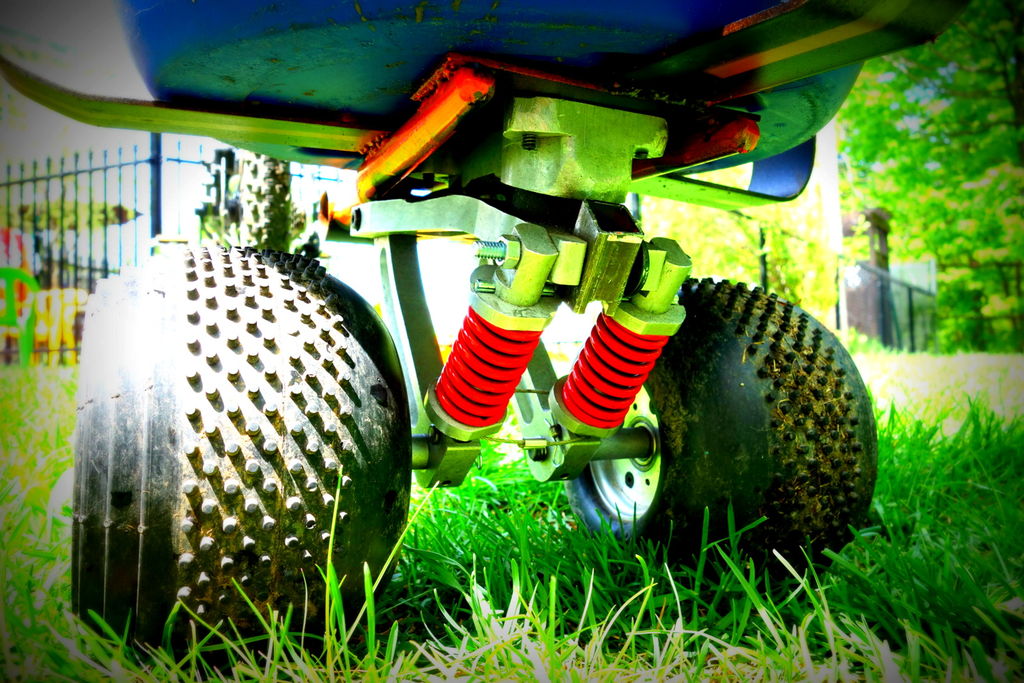
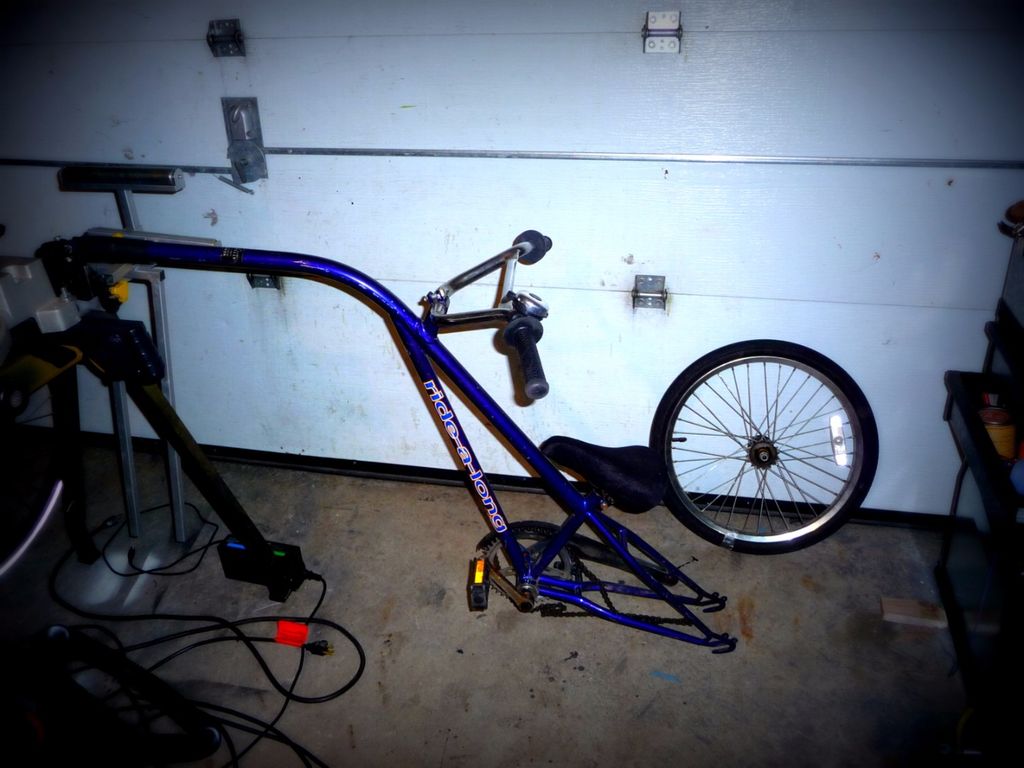
1. Ride along bike (mine had a seized bearing and was otherwise useless) 2. A set of wheels from a mountain board, or a dolly like Onrust did. (mine came from a now defunct mountain board company that marketed them as Turf Board. I initially bought this board to make an Electric Turf Board (Fail) and have since used one set of wheels for a Firewood Dolly 3. 2 – 2 x 48 inch flat steel 4. 1 – 3/4 x 60 inch flat steel 5. Various steel odds and ends 6. Two colors of spray paint and some masking tape
Tools you will need include:
1. Welder (flux core in my case) 2. Angle grinder with grinder and zip-cut blades 3. Set of wrenches 4. Set of Allen Keys 5. Metal file 6. Drill press and various bit sizes 7. Vice
Step 2: Deconstruct your Bike
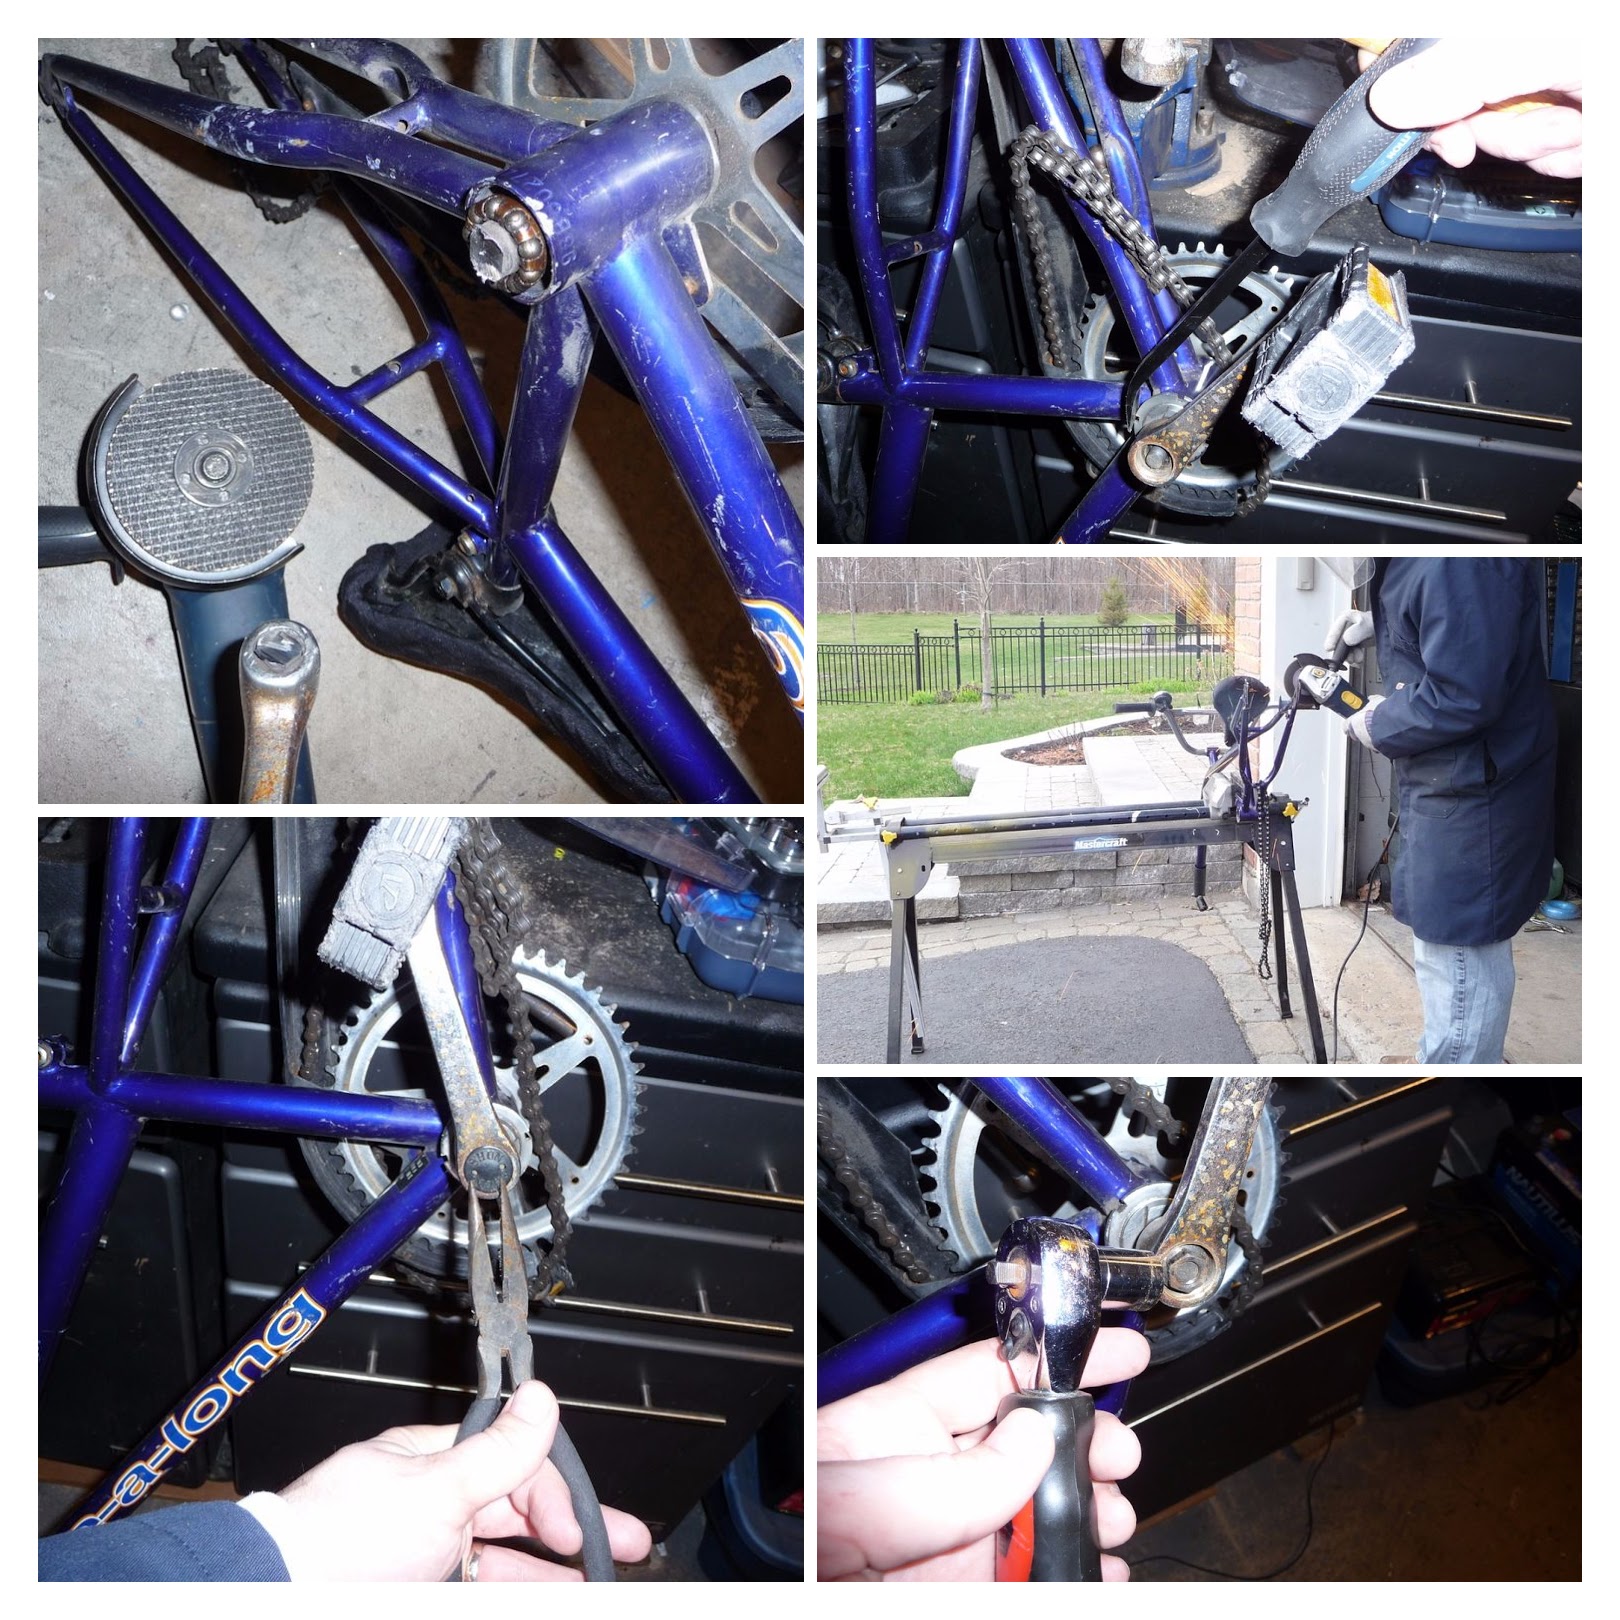
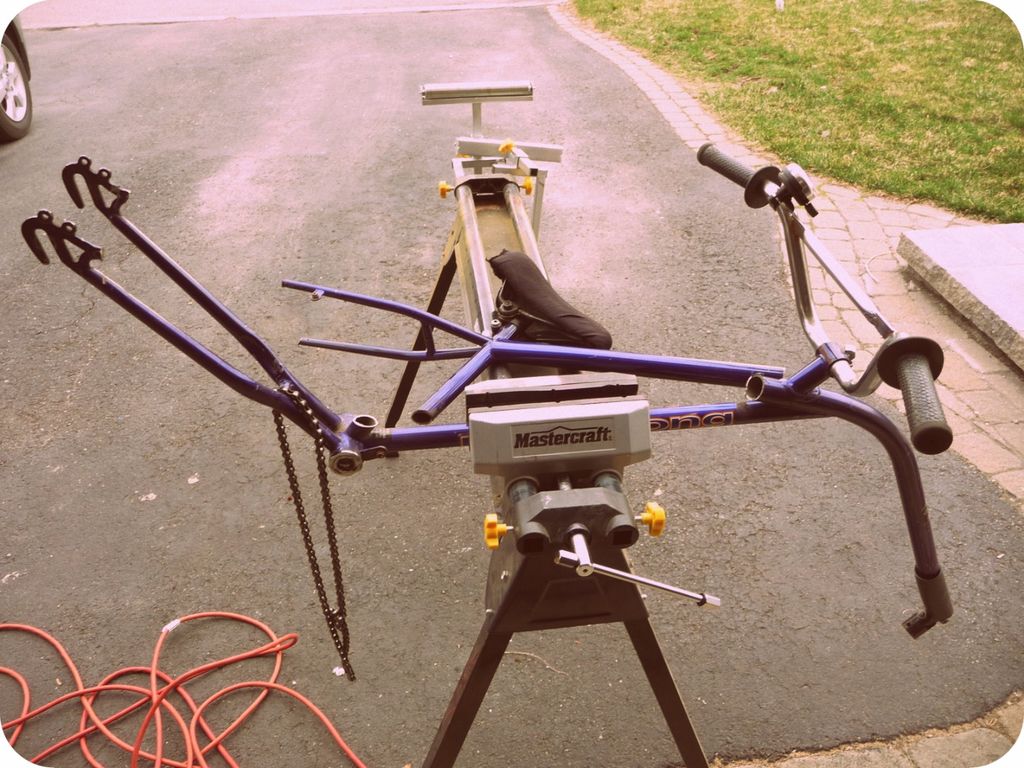
1. Take wheel off by taking chain off the gear and loosening bolts on either side 2. Chop off excess tubing with an angle grinder (wear your protective gear!) 3. Attempt to remove the crank with available tools (revert to angle grinder)
Step 3: Prepare Frame
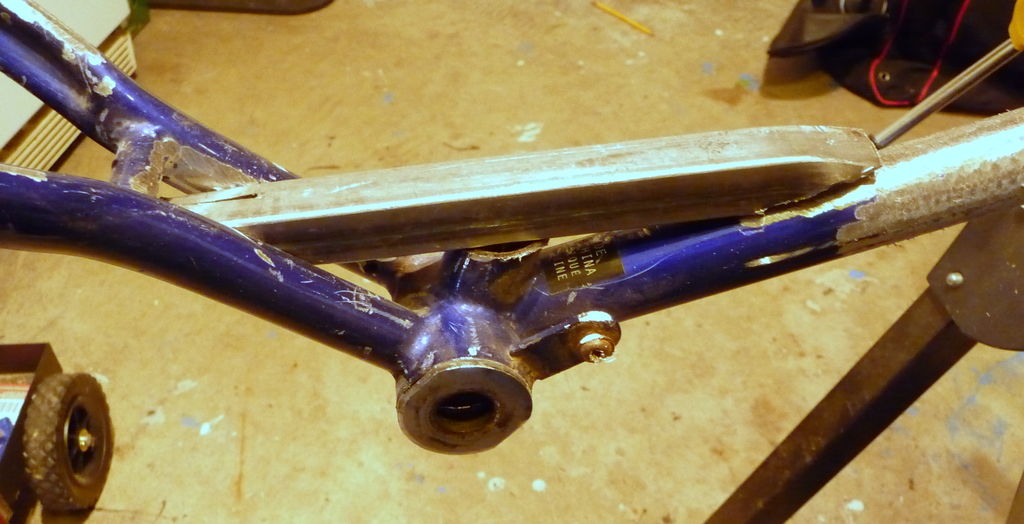
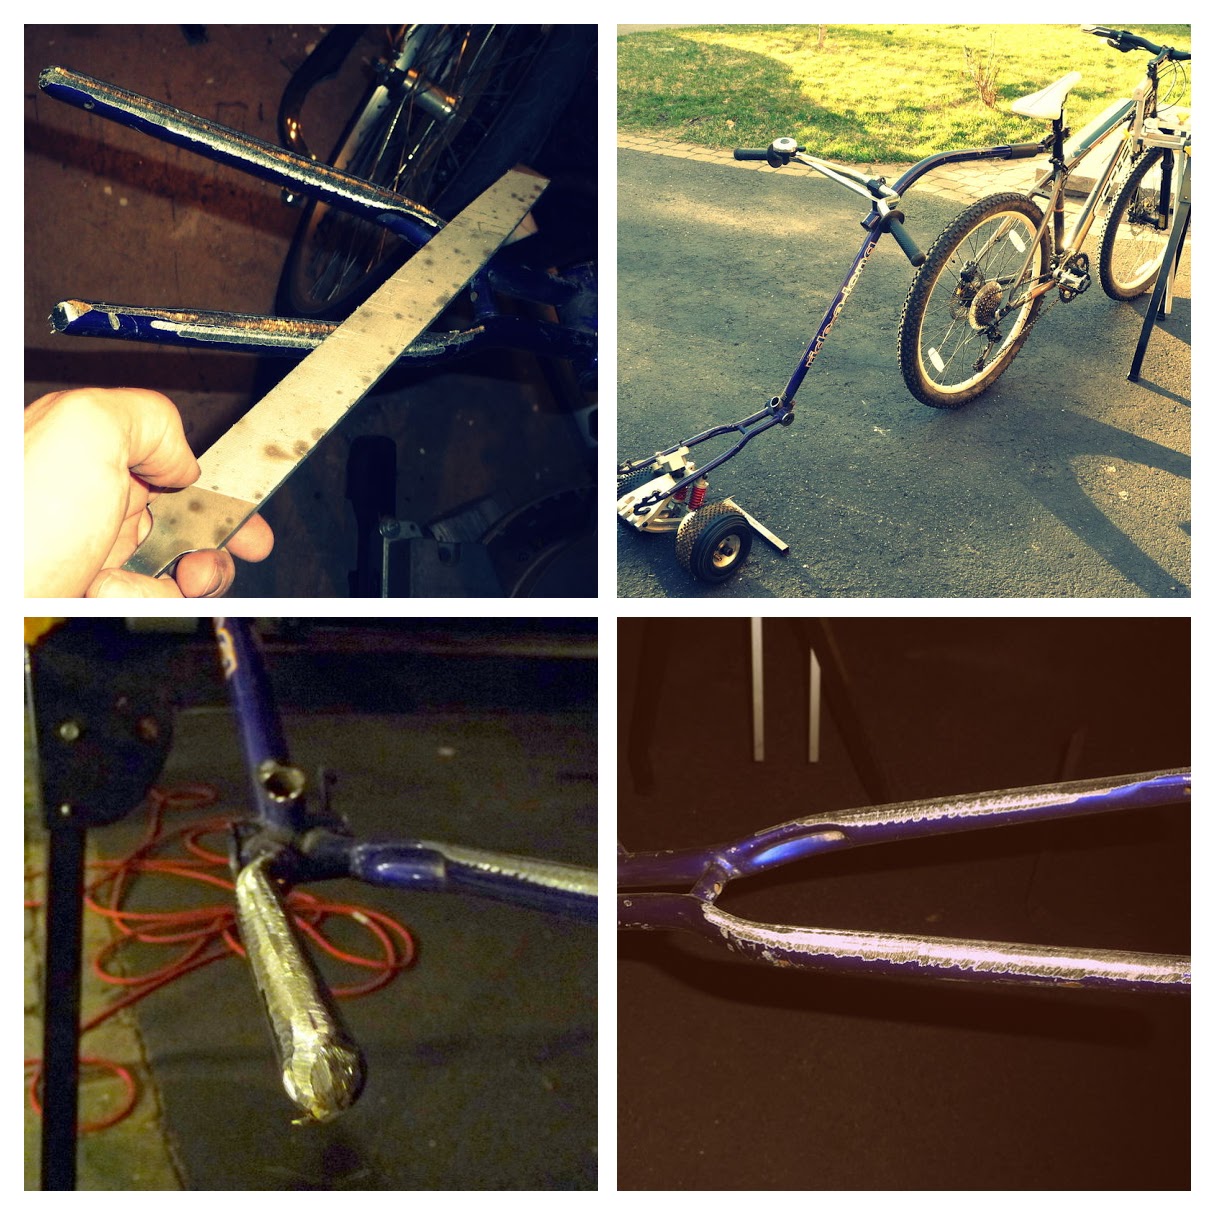
First, you should use your grinder to remove the paint or decals from all areas that you will be welding onto. Make sure you have a well ventilated area for this. You will also want to spend some time with a file getting all the sharp edges smoother to avoid any cuts down the road.
I used a piece of square tubing to bridge the main piece of tubing with the rear forks. I tinkered a bit to get the piece sufficiently beveled to fit into place.
Step 4: Basket Weaving…
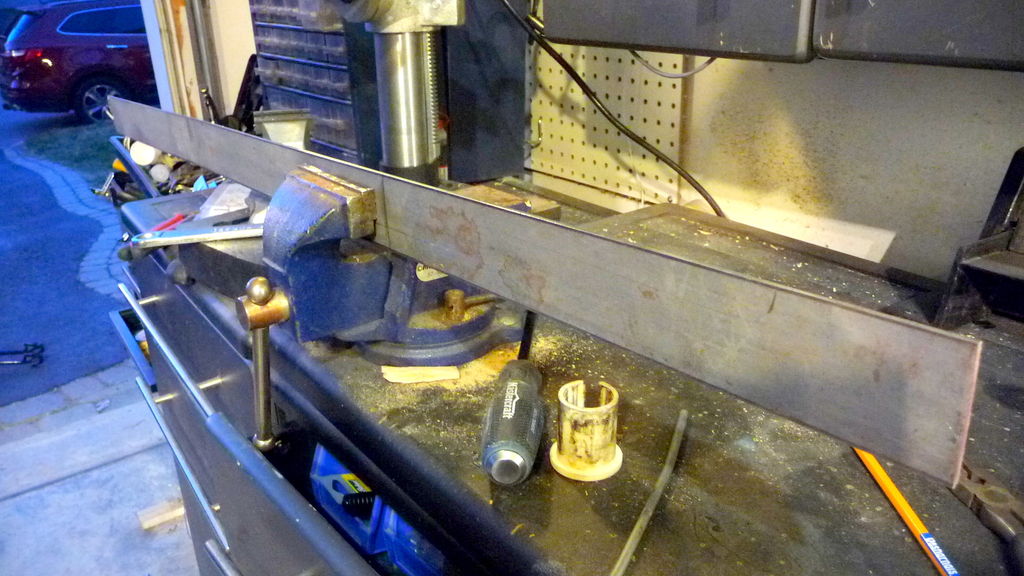
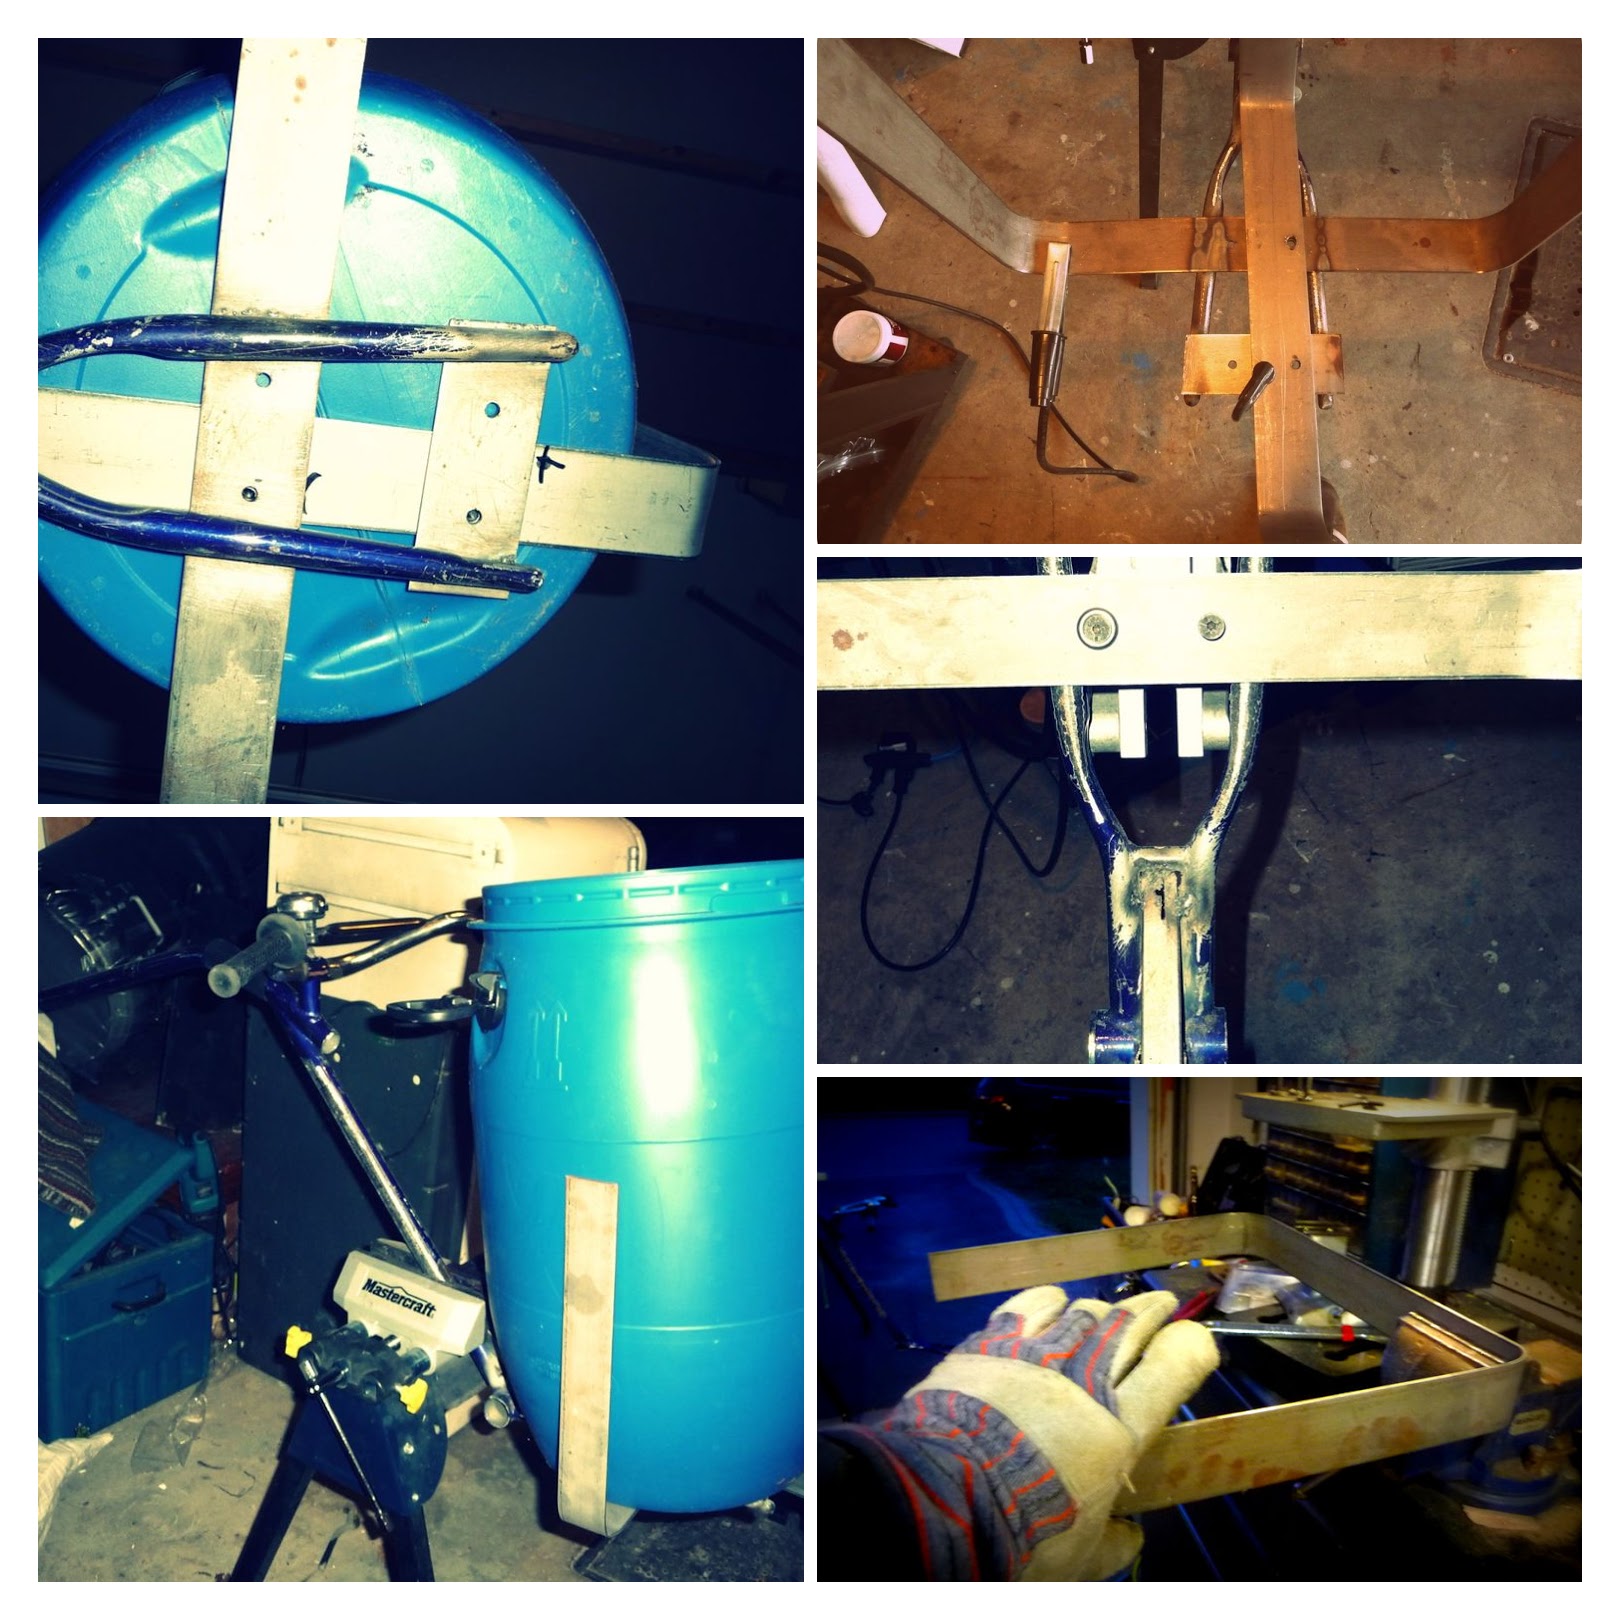
To bend the flat steel I merely put the pieces of steel into a vice and pulled on them; after careful measuring of course.
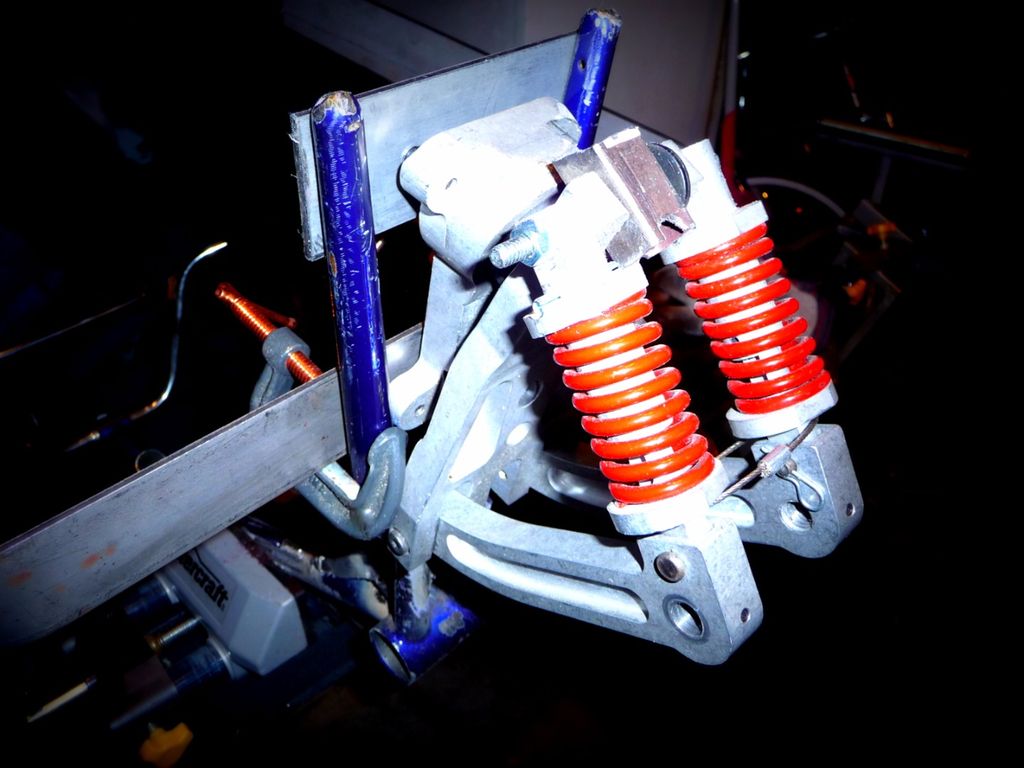
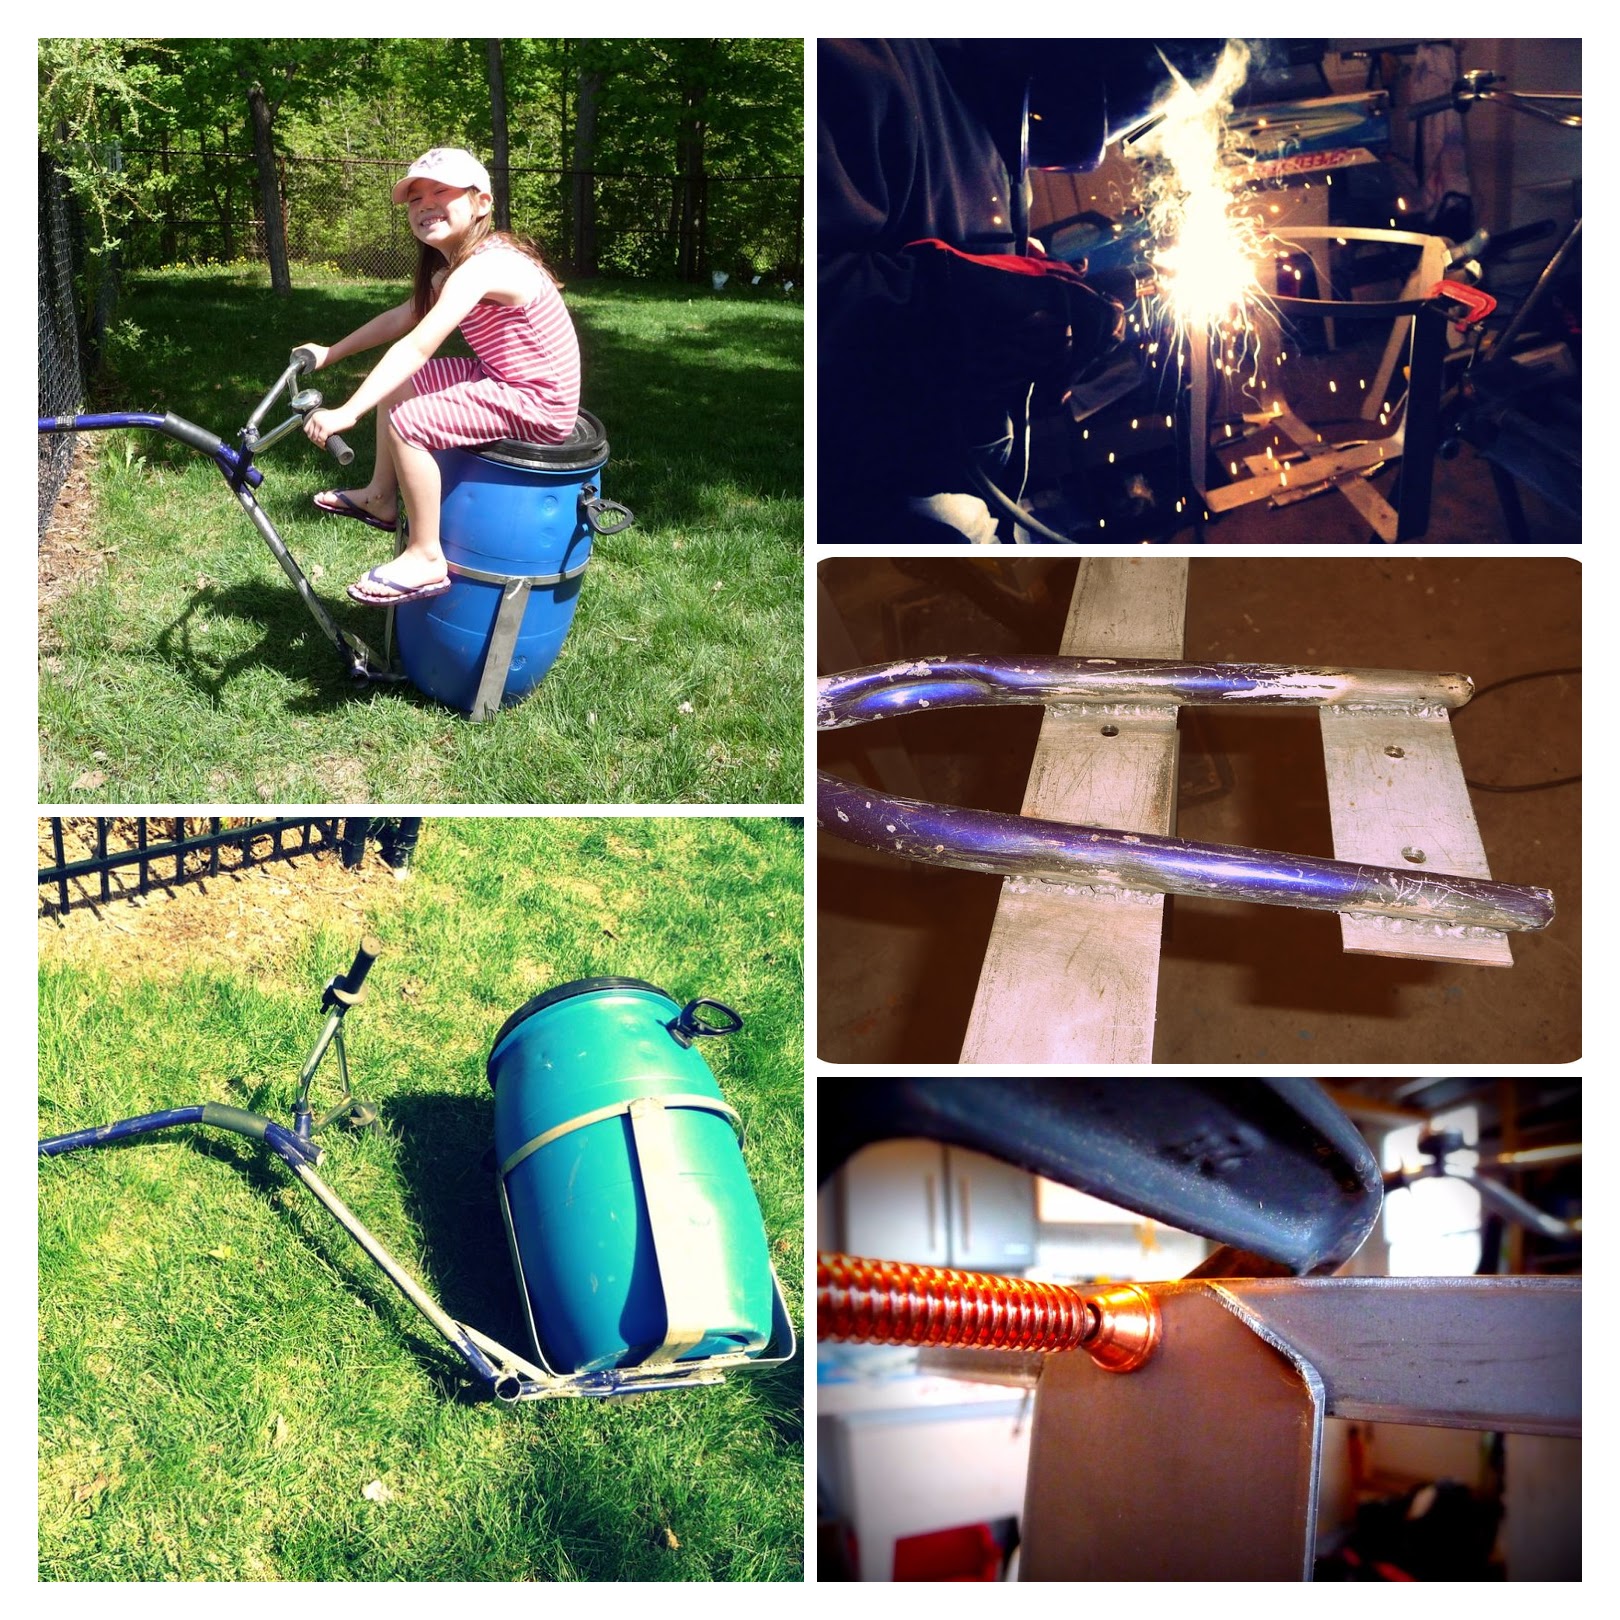
The placement of the steel and the holes for the trucks requires careful consideration. You want the load to be centered over the wheels, and in my case, the truck is wedged into the back fork, so there aren’t too many correct positions (one in fact). I offset the piece of flat steel that is parallel to the frame by about an inch, so I could line up two more holes. Once you are sure of the position of the steel, trace the position of the holes in the trucks onto the steel. I used a drill press to complete the bolt holes.
Step 5: Top ring
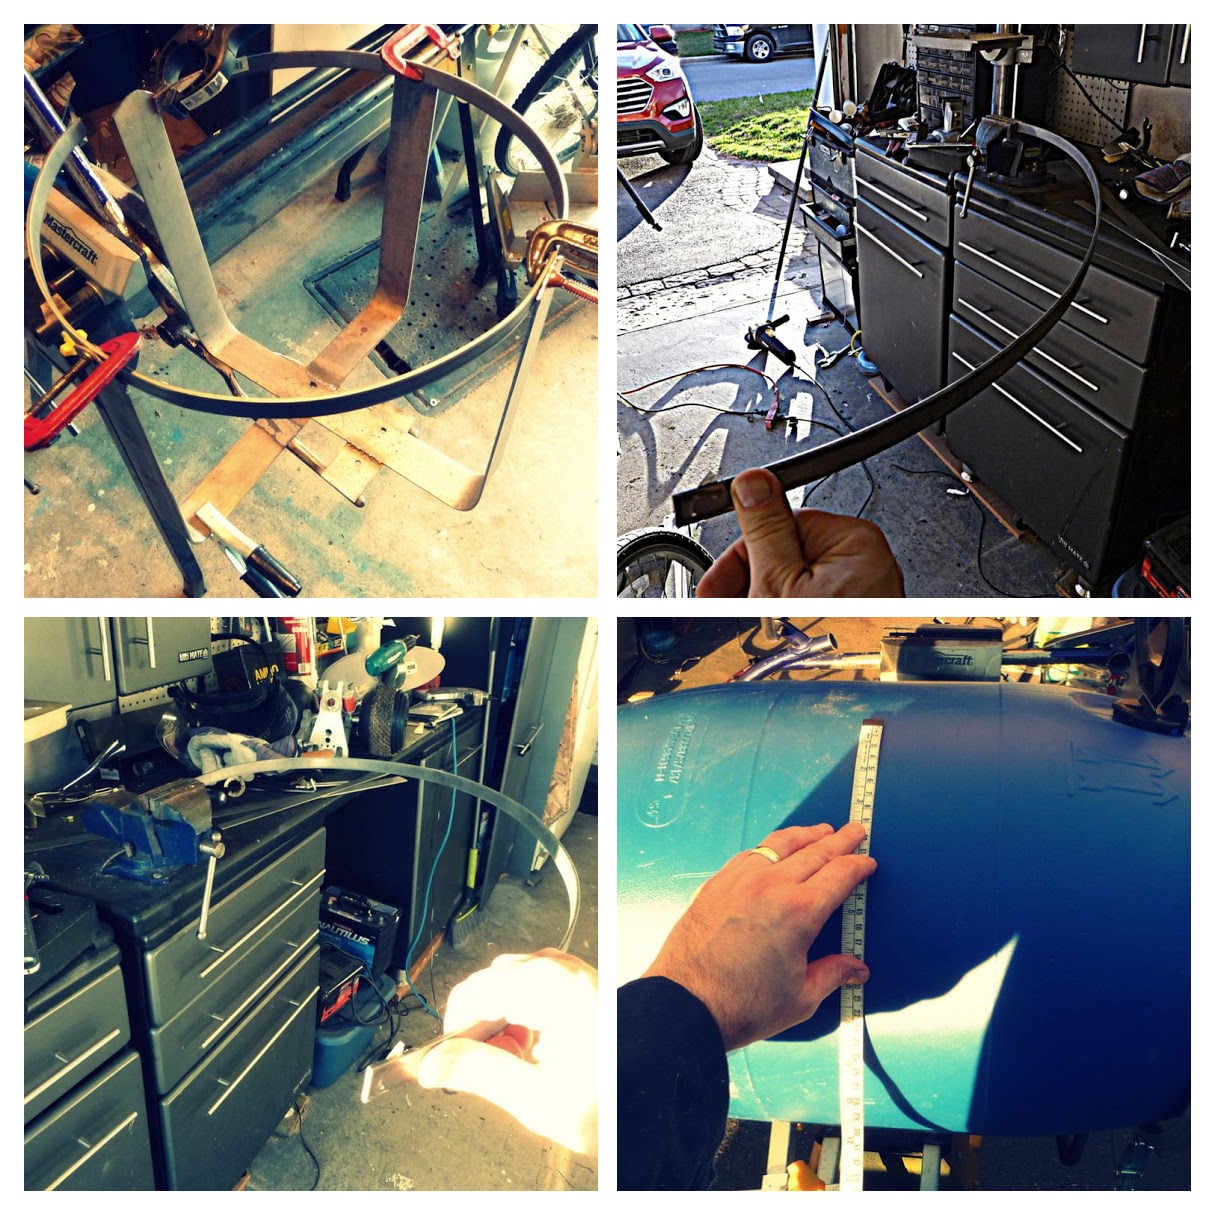
Measure the circumference of the barrel and add 1 to 2 inches to give yourself a little buffer. Insert one end (half an inch) into a vise. Slowly bend the steel towards you from the far end all the while accentuating the curvature by pushing from the inside with the other hand.
Step 6: Weld and test
Step 7: Paint
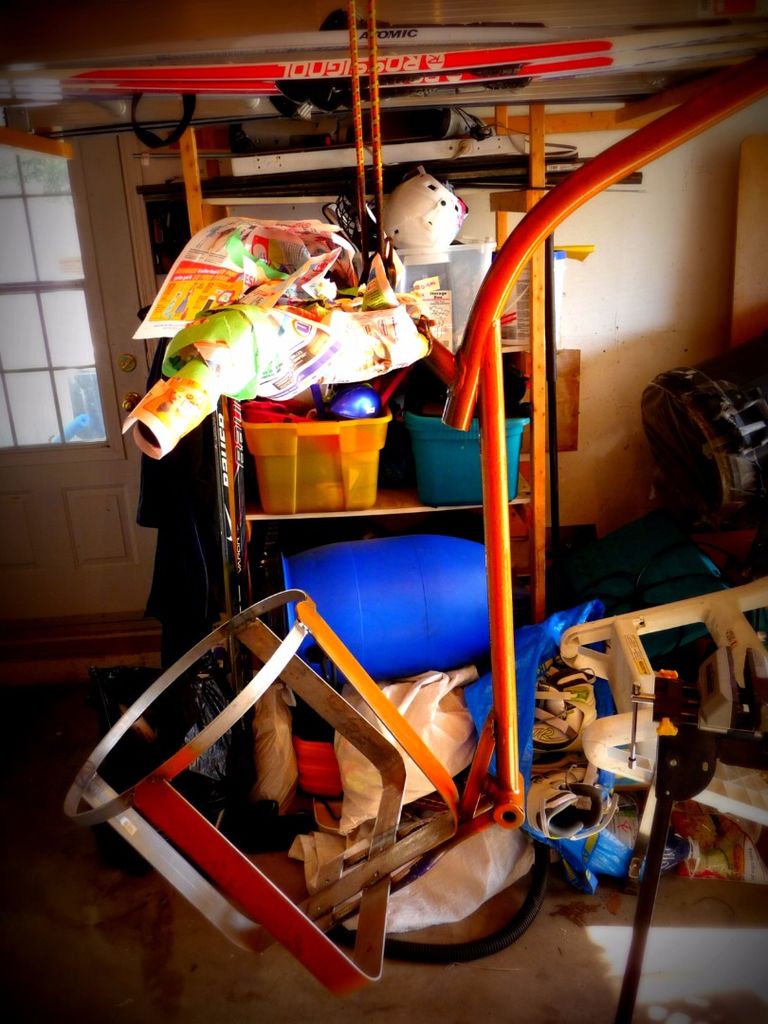
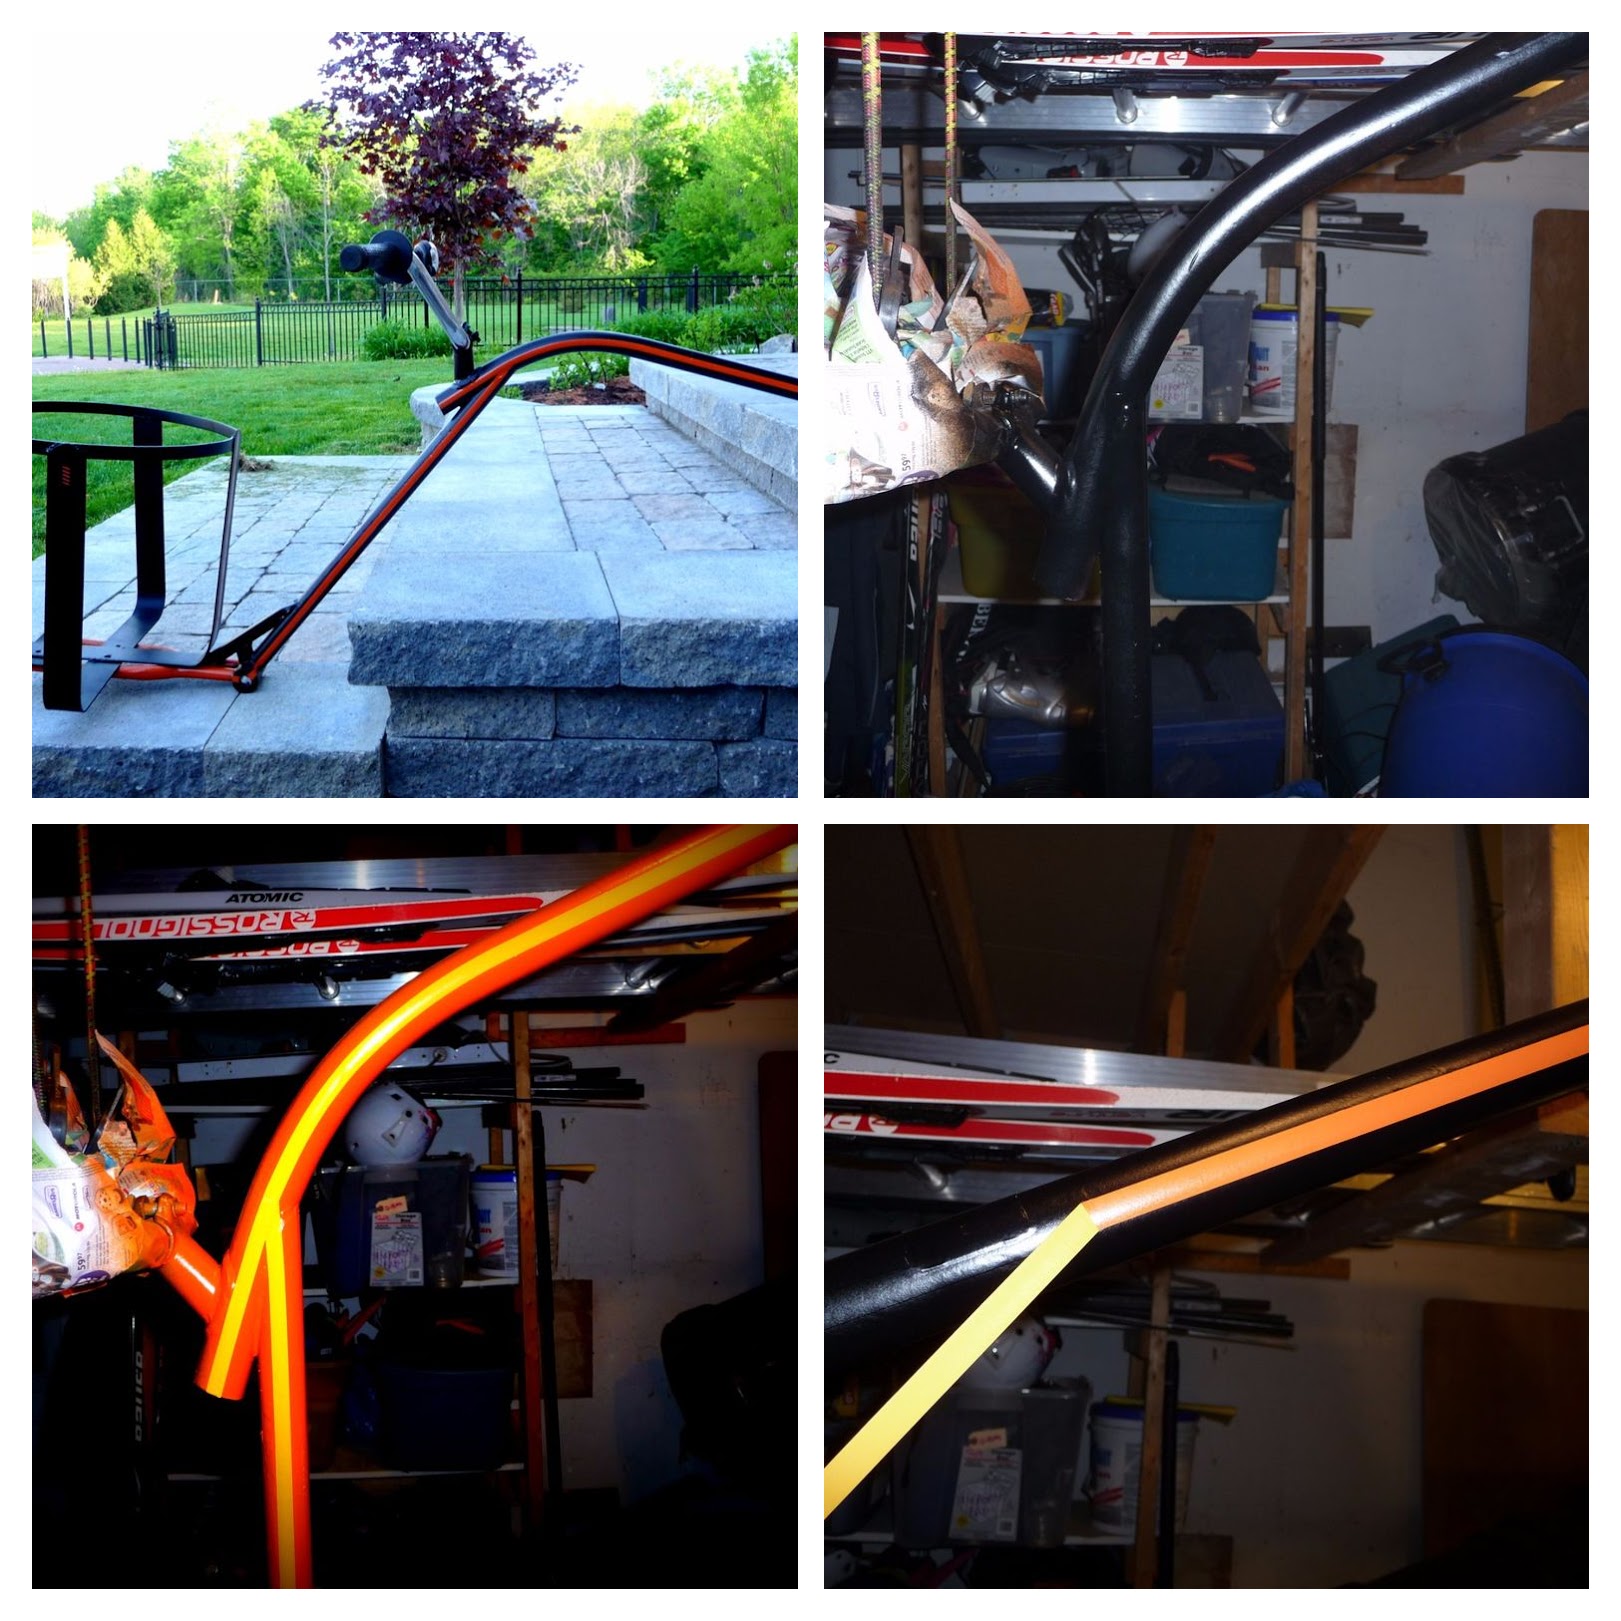
This is always the most rewarding part of my projects: you know that everything works, you just need to pretty it up.
Start by cleaning up the frame, any grease or dust will strongly affect the paint adherence. Using a primer is always a good idea, I often skip it with spray paint. First, spray the color of your stripes in areas that require it. Tape the areas where the stripes will be. I have some leftover decals that are very useful because there are different widths of tape, they are flexible for rounding corners without creasing, and the are easy to peel. Make sure to smooth the tape down after applying it, to seal off any creases. Paint your main color over the tape and first coat. Read the instructions carefully, you can often apply the next coats within 15 minutes so that you can be done within a couple of hours. Carefully peel the tape.
Step 8: A few more pics
You can see the original article from Renard Bleu here
If you have any comments then please drop us a message on our Outdoor Revival facebook page
If you see a good product or have a blog you would like to share let us know about it on our FB page, we’re also happy for article and review submissions, we’d love to hear from you.
Outdoor Revival – Reconnecting us all to the Outdoors


